
Introduction
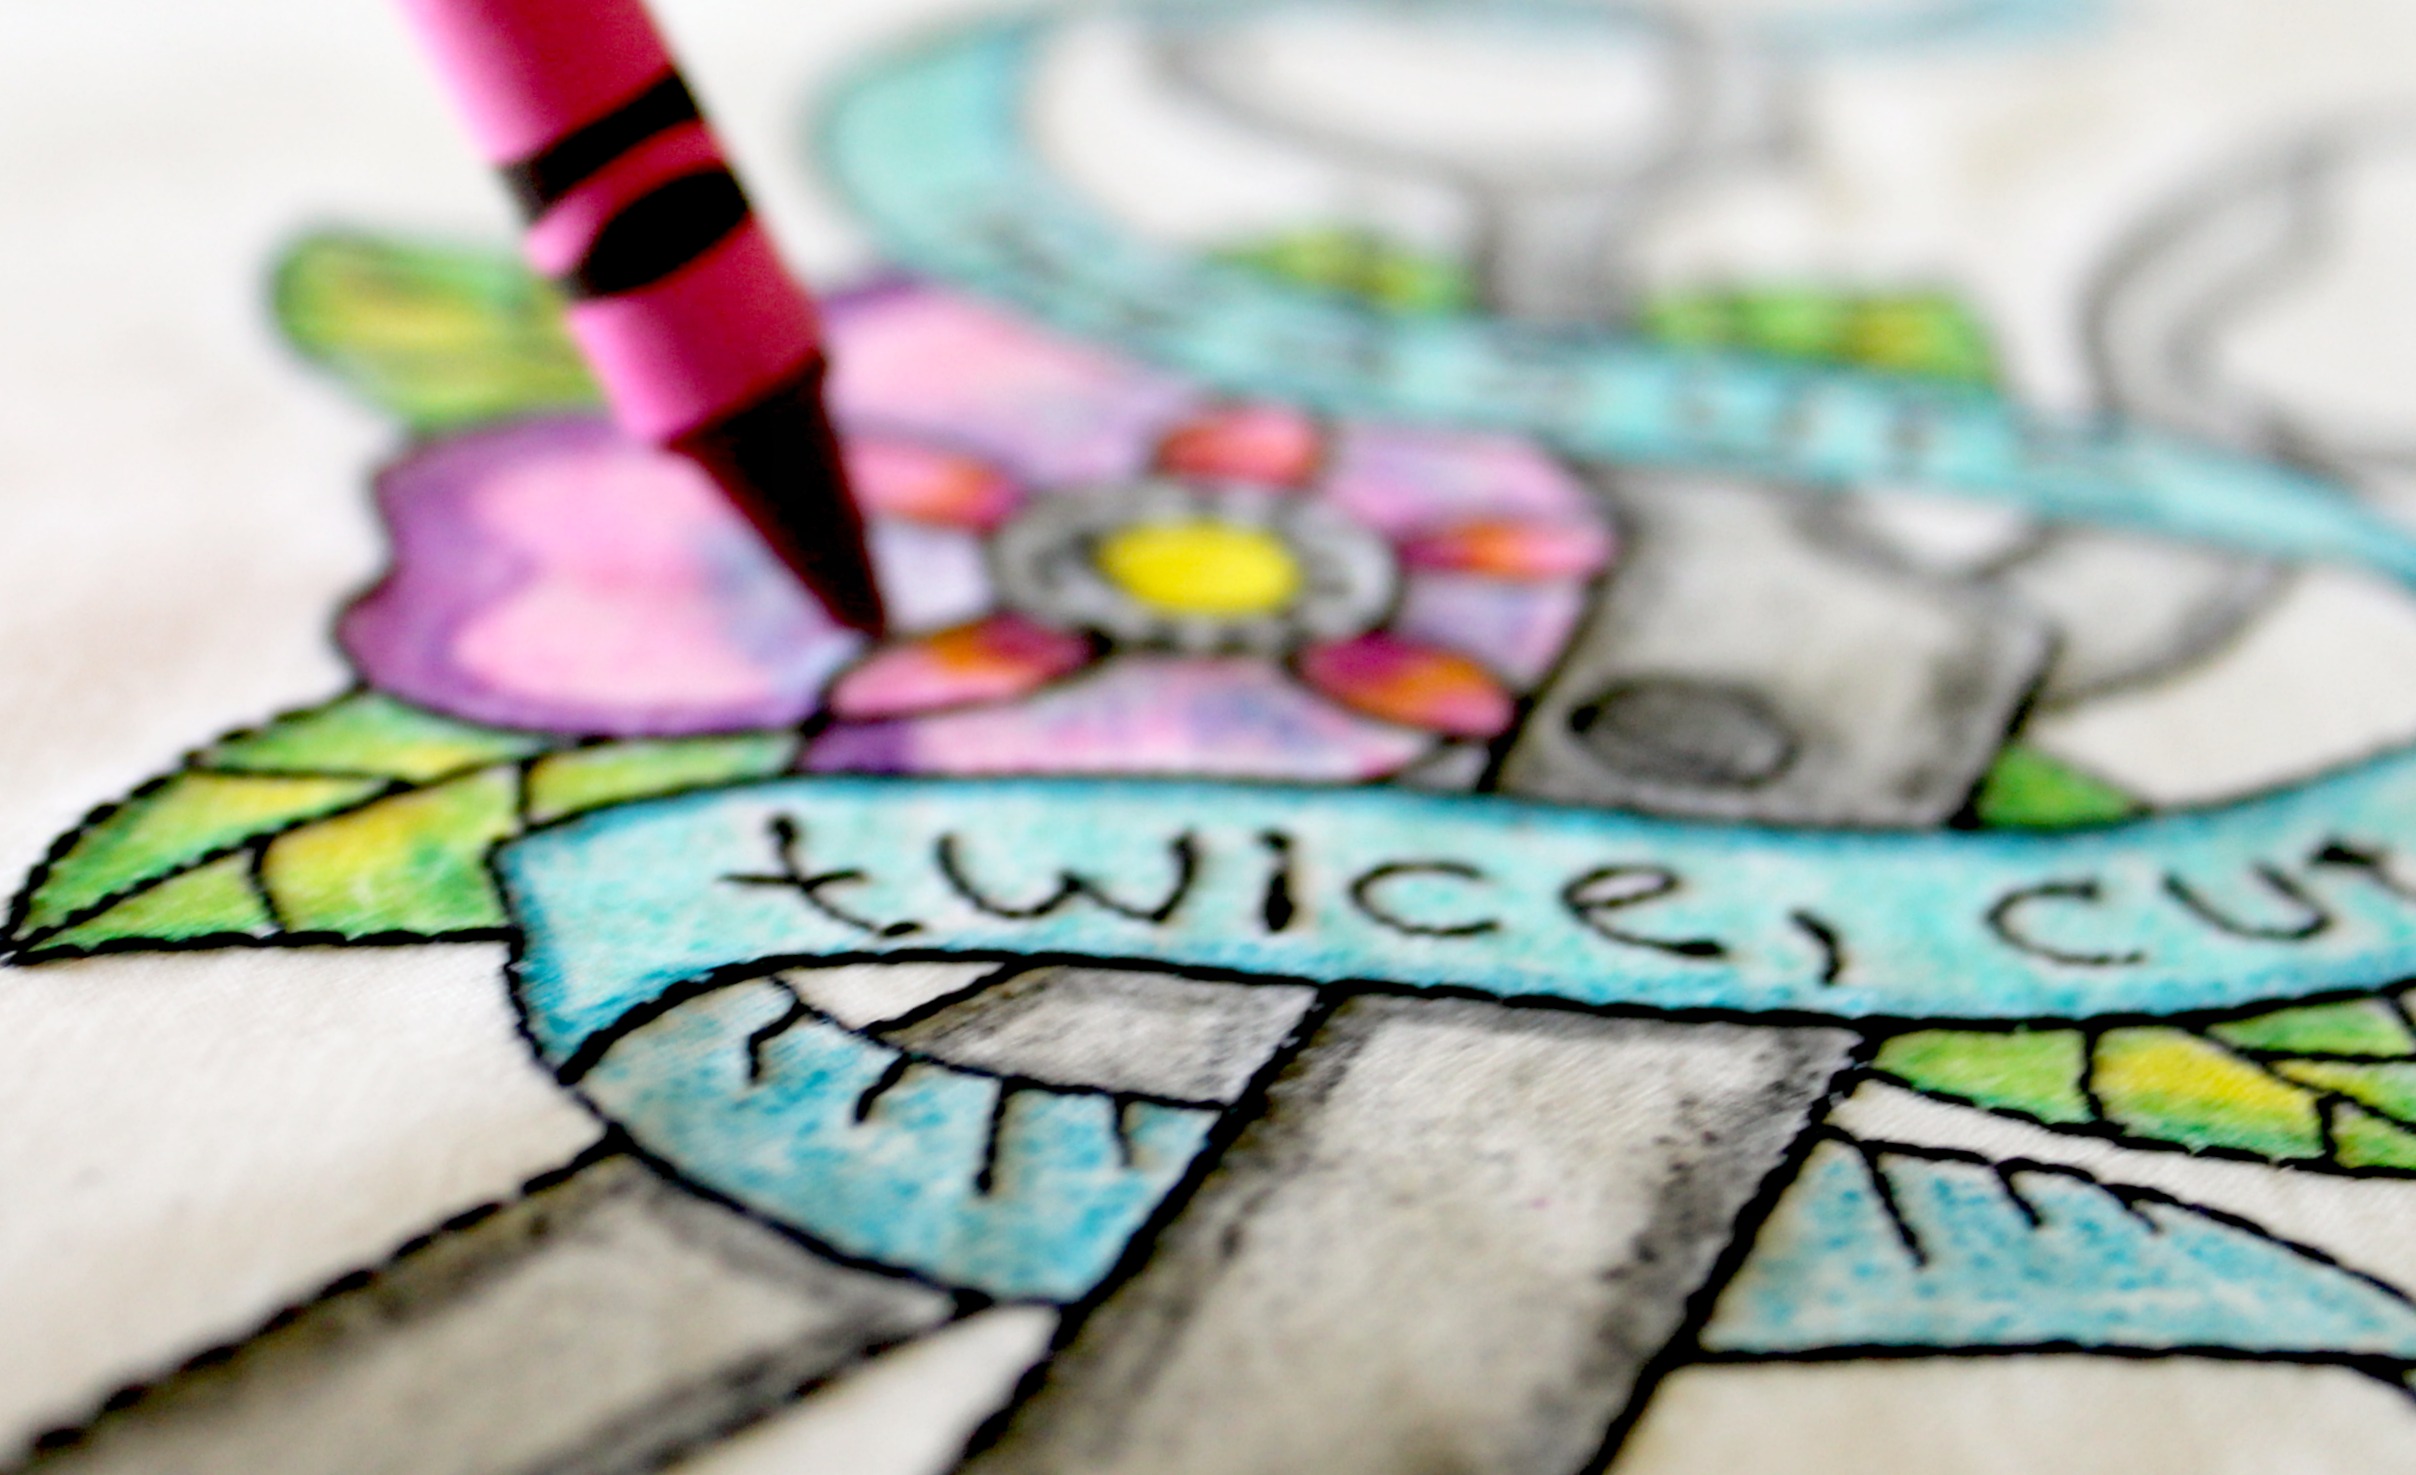
Freestanding lace embroidery is a technique used in machine embroidery where lace designs are created without any fabric backing. Instead, the design is embroidered on water-soluble stabilizer, which is later dissolved in water, leaving behind a delicate lace design.
One of the main benefits of freestanding lace embroidery is that it allows for the creation of intricate lace designs that can be used for a variety of projects, such as doilies, table runners, and even clothing. Additionally, the technique can be used with a variety of thread types and colors, allowing for endless customization options.

The steps involved in freestanding lace embroidery typically include:
Selecting a lace design and transferring it to the embroidery machine.
Hooping water-soluble stabilizer in the embroidery hoop.
Embroidering the design onto the stabilizer.
Removing the embroidery hoop and trimming away excess stabilizer.
Rinsing the lace design in water to dissolve the remaining stabilizer.
Allowing the lace to dry before using it for your desired project.
Materials Needed
Materials needed for freestanding lace embroidery:
Embroidery machine: You will need an embroidery machine with a minimum hoop size of 4×4 inches.
Embroidery thread: Use high-quality embroidery thread in the color of your choice.
Water-soluble stabilizer: This stabilizer is used to create freestanding lace designs. You will need a stabilizer that is strong enough to hold the stitches together but dissolves easily in water.
Fabric: You can use any type of fabric to embroider your design. However, it’s recommended to use lightweight fabric such as organza or tulle.
Scissors: You will need a good pair of scissors to cut the thread and the stabilizer.
Embroidery design: You can purchase or create your own embroidery design for freestanding lace embroidery.
Where to buy materials:
Embroidery machine: You can purchase an embroidery machine from online retailers like Amazon or sewing machine dealers.
Embroidery thread: Embroidery thread is available at most craft stores, fabric stores, and online retailers like Amazon.
Water-soluble stabilizer: You can purchase water-soluble stabilizer at craft stores, fabric stores, and online retailers like Amazon.
Fabric: Fabric is available at most craft stores, fabric stores, and online retailers like Amazon.
Scissors: Scissors are available at most craft stores, fabric stores, and online retailers like Amazon.
Embroidery design: You can purchase embroidery designs from online retailers like Etsy or create your own using embroidery software.
III. Design Selection
Tips for choosing a suitable design for freestanding lace embroidery:
Look for designs specifically created for freestanding lace embroidery: Some designs are better suited for freestanding lace embroidery than others. Look for designs that have a lot of open spaces and don’t have too many details.
Check the stitch count: Make sure the design has a manageable stitch count for the size of the embroidery hoop you’re using.
Consider the color of the thread: Choose a color that will complement the fabric you’re using and will stand out against the stabilizer.
Think about the size of the design: Make sure the design will fit comfortably within your embroidery hoop.
Test stitch the design: Before stitching the entire design, test stitch a small portion to make sure it works well with the fabric and stabilizer you’re using.
Sources for embroidery designs:

Online retailers: Websites like Etsy, Creative Fabrica, and Embroidery Library offer a wide variety of freestanding lace embroidery designs for purchase.
Embroidery software: If you have embroidery software, you can create your own freestanding lace designs.
Embroidery magazines: Magazines like Creative Machine Embroidery and Designs in Machine Embroidery often feature freestanding lace embroidery designs.
Social media: Many embroidery designers share their work on social media platforms like Instagram and Pinterest, which can be a great source of inspiration for freestanding lace embroidery designs.
Personal collections: You can create your own designs using clipart or other images you have in your personal collection, and convert them to embroidery designs using embroidery software.
Preparing the Machine
Steps to prepare the embroidery machine for freestanding lace embroidery:
Choose the appropriate embroidery hoop size: Use an embroidery hoop that is suitable for the size of the design you are planning to embroider.
Wind the bobbin with the same thread as the top thread: Use the same thread for the bobbin as you will use for the top thread to ensure consistency in the design.
Install a new embroidery needle: Install a new embroidery needle to prevent thread breakage and ensure clean stitches.
Thread the machine: Thread the machine with the embroidery thread and pull the thread through the needle.
Attach the hoop to the machine: Attach the embroidery hoop to the machine and ensure it is tightly secured.
Insert the water-soluble stabilizer: Cut the stabilizer to fit the size of the hoop and insert it into the hoop, making sure it is taut and flat.
Select the embroidery design: Choose the freestanding lace embroidery design you want to stitch.
Recommended machine settings:
Stitch density: Set the stitch density to a medium setting. This will ensure that the lace design has enough stitches to hold its shape but not too many that it becomes too dense.
Thread tension: Adjust the thread tension to a lower setting to prevent the thread from breaking.
Stitch length: Set the stitch length to a shorter setting to create a more detailed design.
Embroidery speed: Slow down the embroidery speed to ensure the machine can handle the delicate lace stitches without breaking the thread or damaging the stabilizer.
Needle type: Use a sharp embroidery needle to prevent the thread from fraying or breaking.
Hooping and Stabilizing the Fabric
How to hoop and stabilize the fabric for freestanding lace embroidery:
Cut the fabric to size: Cut the fabric to the size of the embroidery hoop, leaving a small border around the edges.
Choose the right stabilizer: Choose a water-soluble stabilizer that is strong enough to hold the stitches together but dissolves easily in water.
Cut the stabilizer to size: Cut the stabilizer to fit the size of the embroidery hoop, leaving a small border around the edges.
Hoop the stabilizer: Hoop the stabilizer tightly in the embroidery hoop, making sure it is flat and taut.
Place the fabric on top of the stabilizer: Place the fabric on top of the stabilizer, making sure it is centered and flat.
Tighten the hoop: Tighten the hoop, ensuring that the fabric and stabilizer are held securely in place.
Stitch the design: Stitch the freestanding lace embroidery design onto the fabric and stabilizer, making sure to follow the design’s instructions for stitching sequence and color changes.
Remove excess stabilizer: Once the embroidery is complete, carefully cut away any excess stabilizer from the design.
Types of stabilizers suitable for freestanding lace embroidery:
Water-soluble stabilizer: This is the most commonly used stabilizer for freestanding lace embroidery. It dissolves in water, leaving behind only the embroidery design.
Heat-away stabilizer: This type of stabilizer is similar to water-soluble stabilizer, but it dissolves with heat rather than water. It’s ideal for fabrics that are sensitive to water or for designs that require a more rigid structure.
Tear-away stabilizer: Tear-away stabilizer is not recommended for freestanding lace embroidery as it can leave behind small fibers and is not strong enough to hold the lace stitches together.
Cut-away stabilizer: Cut-away stabilizer is not recommended for freestanding lace embroidery as it will leave behind a stiff backing that will not dissolve or disappear.
Embroidery
How to embroider freestanding lace with your machine:
Load the embroidery design onto the machine.
Securely hoop the stabilizer and fabric.
Thread the machine with the same thread as the bobbin and top thread.
Begin the embroidery process, following the stitching sequence and color changes provided in the design.
Once the embroidery is complete, carefully remove the excess stabilizer from the design.
Tips for achieving the best results:
Use high-quality thread to prevent breakage and ensure a clean and crisp design.
Keep the machine clean and well-maintained to prevent thread tension issues.
Use the correct needle size and type for the type of fabric being used.
Avoid using too dense of a design or too many layers of stabilizer as this can cause the design to be too stiff or heavy.
Use a slower embroidery speed for freestanding lace to prevent the design from becoming too dense or the thread from breaking.
Troubleshooting common issues during embroidery:
Thread breakage: Check the thread tension, re-thread the machine, or change the needle.
Skipped stitches: Check the needle for damage or dullness, and make sure the fabric is tightly hooped.
Puckering: Ensure that the stabilizer and fabric are hooped tightly, and consider using a higher-quality stabilizer.
Design not stitching out properly: Check the stitching sequence and color changes, and ensure that the machine is properly threaded and maintained.
VII. Finishing
Removing the stabilizer and excess threads:
Place the embroidered fabric in a bowl of warm water to dissolve the water-soluble stabilizer.
Gently agitate the fabric to help dissolve the stabilizer.
Once the stabilizer has dissolved, rinse the fabric thoroughly with clean water.
Carefully remove any excess threads from the design using small scissors or a seam ripper.
Cutting the freestanding lace design from the hoop:
Remove the hoop from the machine and loosen the screws to release the fabric.
Carefully remove the fabric from the hoop, being careful not to damage the design.
Use small scissors to carefully cut around the edges of the design, removing any excess fabric or stabilizer.
Final steps for completing the freestanding lace embroidery project:

Allow the lace design to air dry completely.
Press the design with a warm iron to remove any wrinkles or creases.
If desired, add any additional finishing touches such as adding beads, sequins, or additional embroidery.
Finally, use the freestanding lace design as desired, such as adding it to a garment or creating a stand-alone lace piece.
VIII. Conclusion
Recap of the benefits of freestanding lace embroidery:
Freestanding lace embroidery is a beautiful and delicate technique that allows you to create stunning lace designs that can be used in a variety of projects. The benefits of this technique include:
The ability to create intricate lace designs without the need for a fabric base.
The versatility of the designs, which can be used in a variety of projects such as clothing, accessories, and home decor.
The opportunity to experiment with different colors, threads, and stitches to create unique and personalized designs.
Final tips and recommendations for beginners:
Start with simple designs and gradually work up to more complex designs as you become more comfortable with the technique.
Use high-quality materials and tools to ensure the best results.
Practice proper hooping and stabilizing techniques to ensure that the design is stable and secure.
Take the time to properly maintain and clean your embroidery machine to prevent issues during the embroidery process.
Encouragement to practice and experiment with freestanding lace embroidery techniques:
Freestanding lace embroidery is a beautiful and rewarding technique that requires practice and patience to master. Don’t be discouraged if your first attempts don’t turn out perfectly – keep practicing and experimenting with different techniques and materials to find what works best for you. With time and practice, you will be able to create stunning freestanding lace designs that will amaze and delight everyone who sees them.
See Also-
- Best Computerized Embroidery Machine
- Best Embroidery Machine For Custom Designs
- Best Embroidery Machine For Hats
- Best Embroidery Machine For Monogramming
- Best Embroidery Machine Under $1000