Introduction
- Machine embroidery is a process of creating designs or patterns on fabric using a computerized sewing machine. The machine uses an embroidery hoop to hold the fabric taut and move it around while the needle creates the design. Machine embroidery allows for precise and intricate designs that would be difficult to achieve by hand.

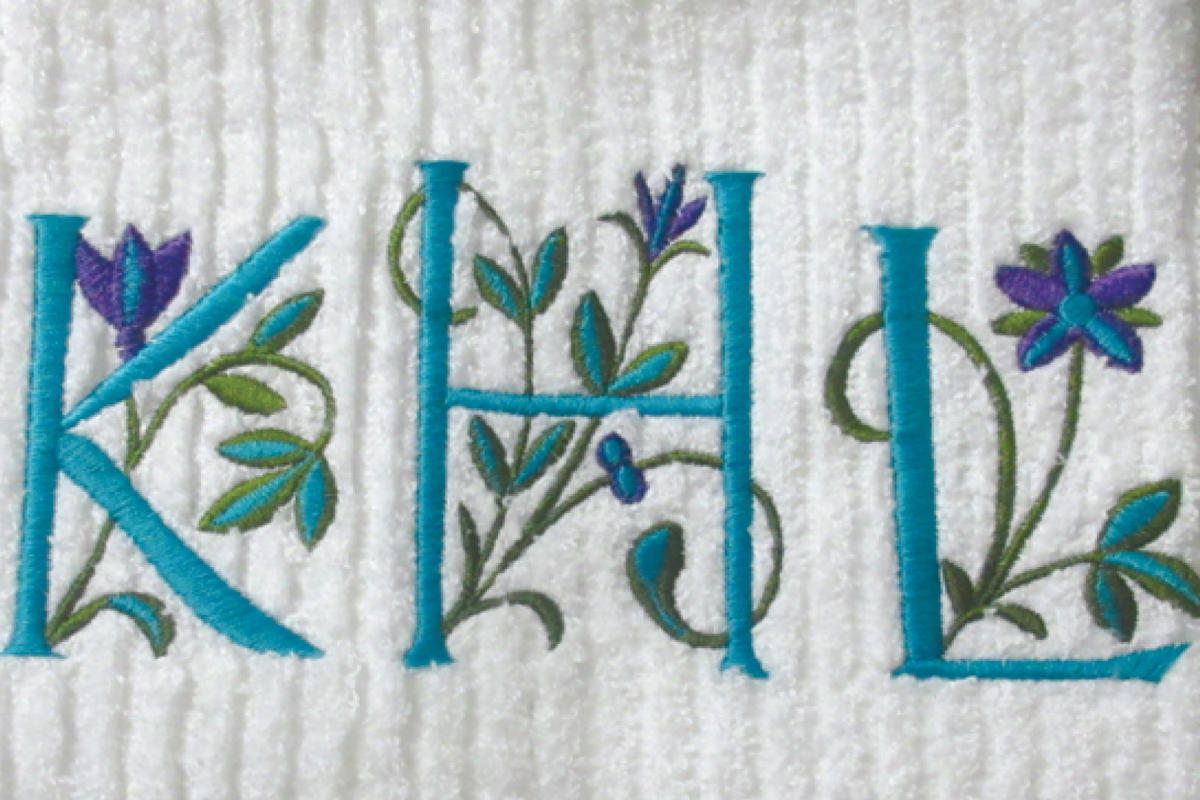
- Embroidering names and words adds a personal touch to any garment or accessory. Whether it’s a monogrammed towel or a custom embroidered hat, adding a name or phrase makes the item unique and special to the owner. Embroidered names and words can also be used for identification purposes, such as on uniforms or workwear. Additionally, embroidery can be used for branding purposes on promotional items, such as tote bags or hats with a company logo.
Preparing the materials and machine
- Choosing the right fabric is important for machine embroidery. Ideally, you want a fabric that is stable and won’t stretch or distort during the embroidery process. Fabrics like cotton, linen, and canvas work well. Avoid fabrics like silk or satin, which can be more difficult to work with.
- Selecting the thread color is also an important step. You want to choose a color that will stand out against the fabric and complement the design. Many embroidery machines come with a variety of thread colors to choose from, or you can purchase additional colors separately.
- Setting up the machine involves several steps. First, you need to attach the embroidery hoop to the machine. Next, you need to select the design you want to embroider and load it onto the machine’s computer. Then, you need to thread the machine with the chosen thread color and adjust the tension and stitch settings as needed. Finally, you can position the fabric in the hoop and begin embroidering. It’s important to follow the manufacturer’s instructions for your specific machine to ensure proper setup and operation.
III. Creating the design
- Choosing the font style and size is an important part of creating the design for machine embroidery. You want to select a font that is easy to read and complements the overall design. It’s also important to choose a font size that fits within the space of the embroidery hoop and is appropriate for the item being embroidered. Some machines come with built-in fonts, while others allow you to upload custom fonts.

- Transferring the design to the machine involves several steps. First, you need to create or select the design you want to embroider using embroidery software or by downloading a pre-made design. Next, you need to save the design in a format that is compatible with your embroidery machine. This may involve converting the file to a specific embroidery file format. Finally, you need to transfer the design to the machine either by connecting the machine to your computer or by using a USB drive. Once the design is loaded onto the machine, you can begin embroidering.
Embroidering the name or word
Hooping the fabric:
The first step in embroidering a name or word is to hoop the fabric. This involves placing the fabric securely in a hoop so that it stays taut and flat while you embroider. To do this, loosen the screw on the embroidery hoop and separate the inner and outer rings. Place the fabric over the inner ring and then place the outer ring on top, making sure that the fabric is stretched taut. Tighten the screw to secure the fabric in place.
Stabilizing the fabric:
To prevent the fabric from puckering or stretching while you embroider, it is important to stabilize it. This involves adding a stabilizer to the back of the fabric. There are many types of stabilizers available, including tear-away, cut-away, and water-soluble. Choose the type of stabilizer that is best suited for your fabric and embroidery design, and cut it to size.
Starting the embroidery:
Once the fabric is hooped and stabilized, it’s time to start embroidering. Thread your embroidery machine with the desired thread color and place the hoop in the machine. Position the needle at the starting point of the design and begin stitching. Follow the design carefully, making sure to change colors and stitch types as necessary.
Managing thread tension:
Proper thread tension is essential for achieving high-quality embroidery. If the tension is too loose, the stitches will be uneven and the design will look messy. If the tension is too tight, the fabric may pucker or the thread may break. Adjust the thread tension as needed, following the instructions in your embroidery machine manual. Test the tension on a scrap piece of fabric before embroidering on your main project.
Finishing the embroidery
Removing the hoop:
Once you have finished embroidering the name or word, it’s time to remove the hoop. Loosen the screw on the embroidery hoop and gently remove the fabric from the hoop. Be careful not to tug or pull on the fabric, as this could cause the stitches to become distorted.
Trimming the excess thread:
Next, use scissors or embroidery snips to carefully trim the excess thread from the embroidered area. Be sure to trim the thread as close to the fabric as possible without cutting any of the stitches. This will help to give the embroidery a clean, finished look.
Ironing the embroidered area:

Finally, iron the embroidered area to help flatten any puckering or wrinkles that may have occurred during the embroidery process. Place the embroidered fabric face down on a clean towel and iron on the backside using a low heat setting. Be sure to avoid ironing directly on top of the embroidery, as this could damage the stitches. Once you have finished ironing, your embroidered name or word is ready to be used or displayed!
Conclusion
Recap of the steps:
Embroidering a name or word involves several steps, including hooping the fabric, stabilizing the fabric, starting the embroidery, managing thread tension, removing the hoop, trimming the excess thread, and ironing the embroidered area.
Encouragement to practice:
Embroidery can be a fun and rewarding hobby, but like any skill, it takes practice to improve. Don’t be discouraged if your first few embroidery projects don’t turn out perfectly. Keep practicing and trying new techniques, and you’ll soon develop the skills and confidence needed to create beautiful embroidered designs.
Suggestions for future projects:
Once you’ve mastered the basics of embroidering names and words, there are countless other embroidery projects you can try. Consider embroidering a favorite quote or song lyric, creating a custom monogram, or embellishing a piece of clothing or home decor item with embroidery. With so many possibilities, the only limit is your imagination!
See Also-
- Best Embroidery Machine For Hoodies
- Best Embroidery Machine For Clothing
- Best Brother Embroidery Machine
- Best Janome Embroidery Machine
- Best Commercial Embroidery Machine


