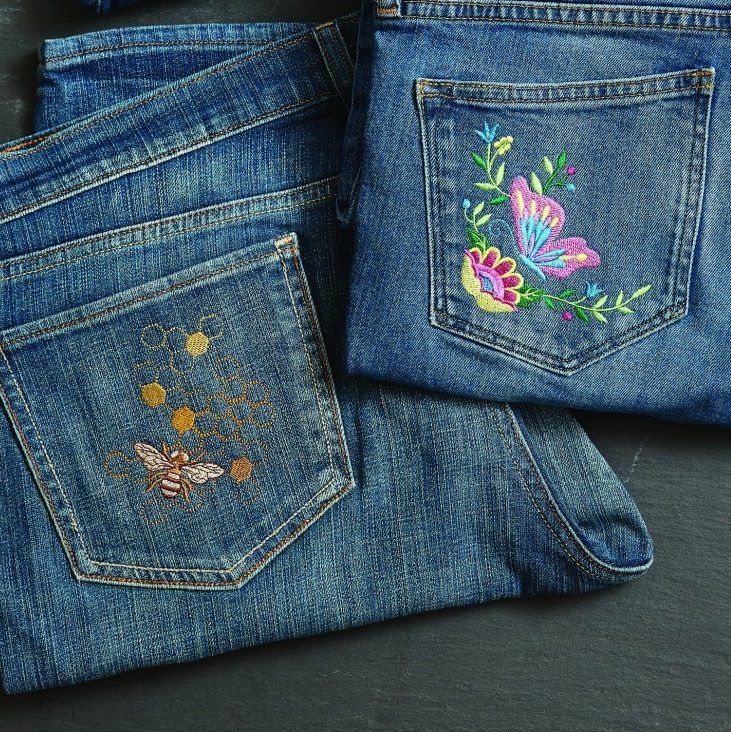
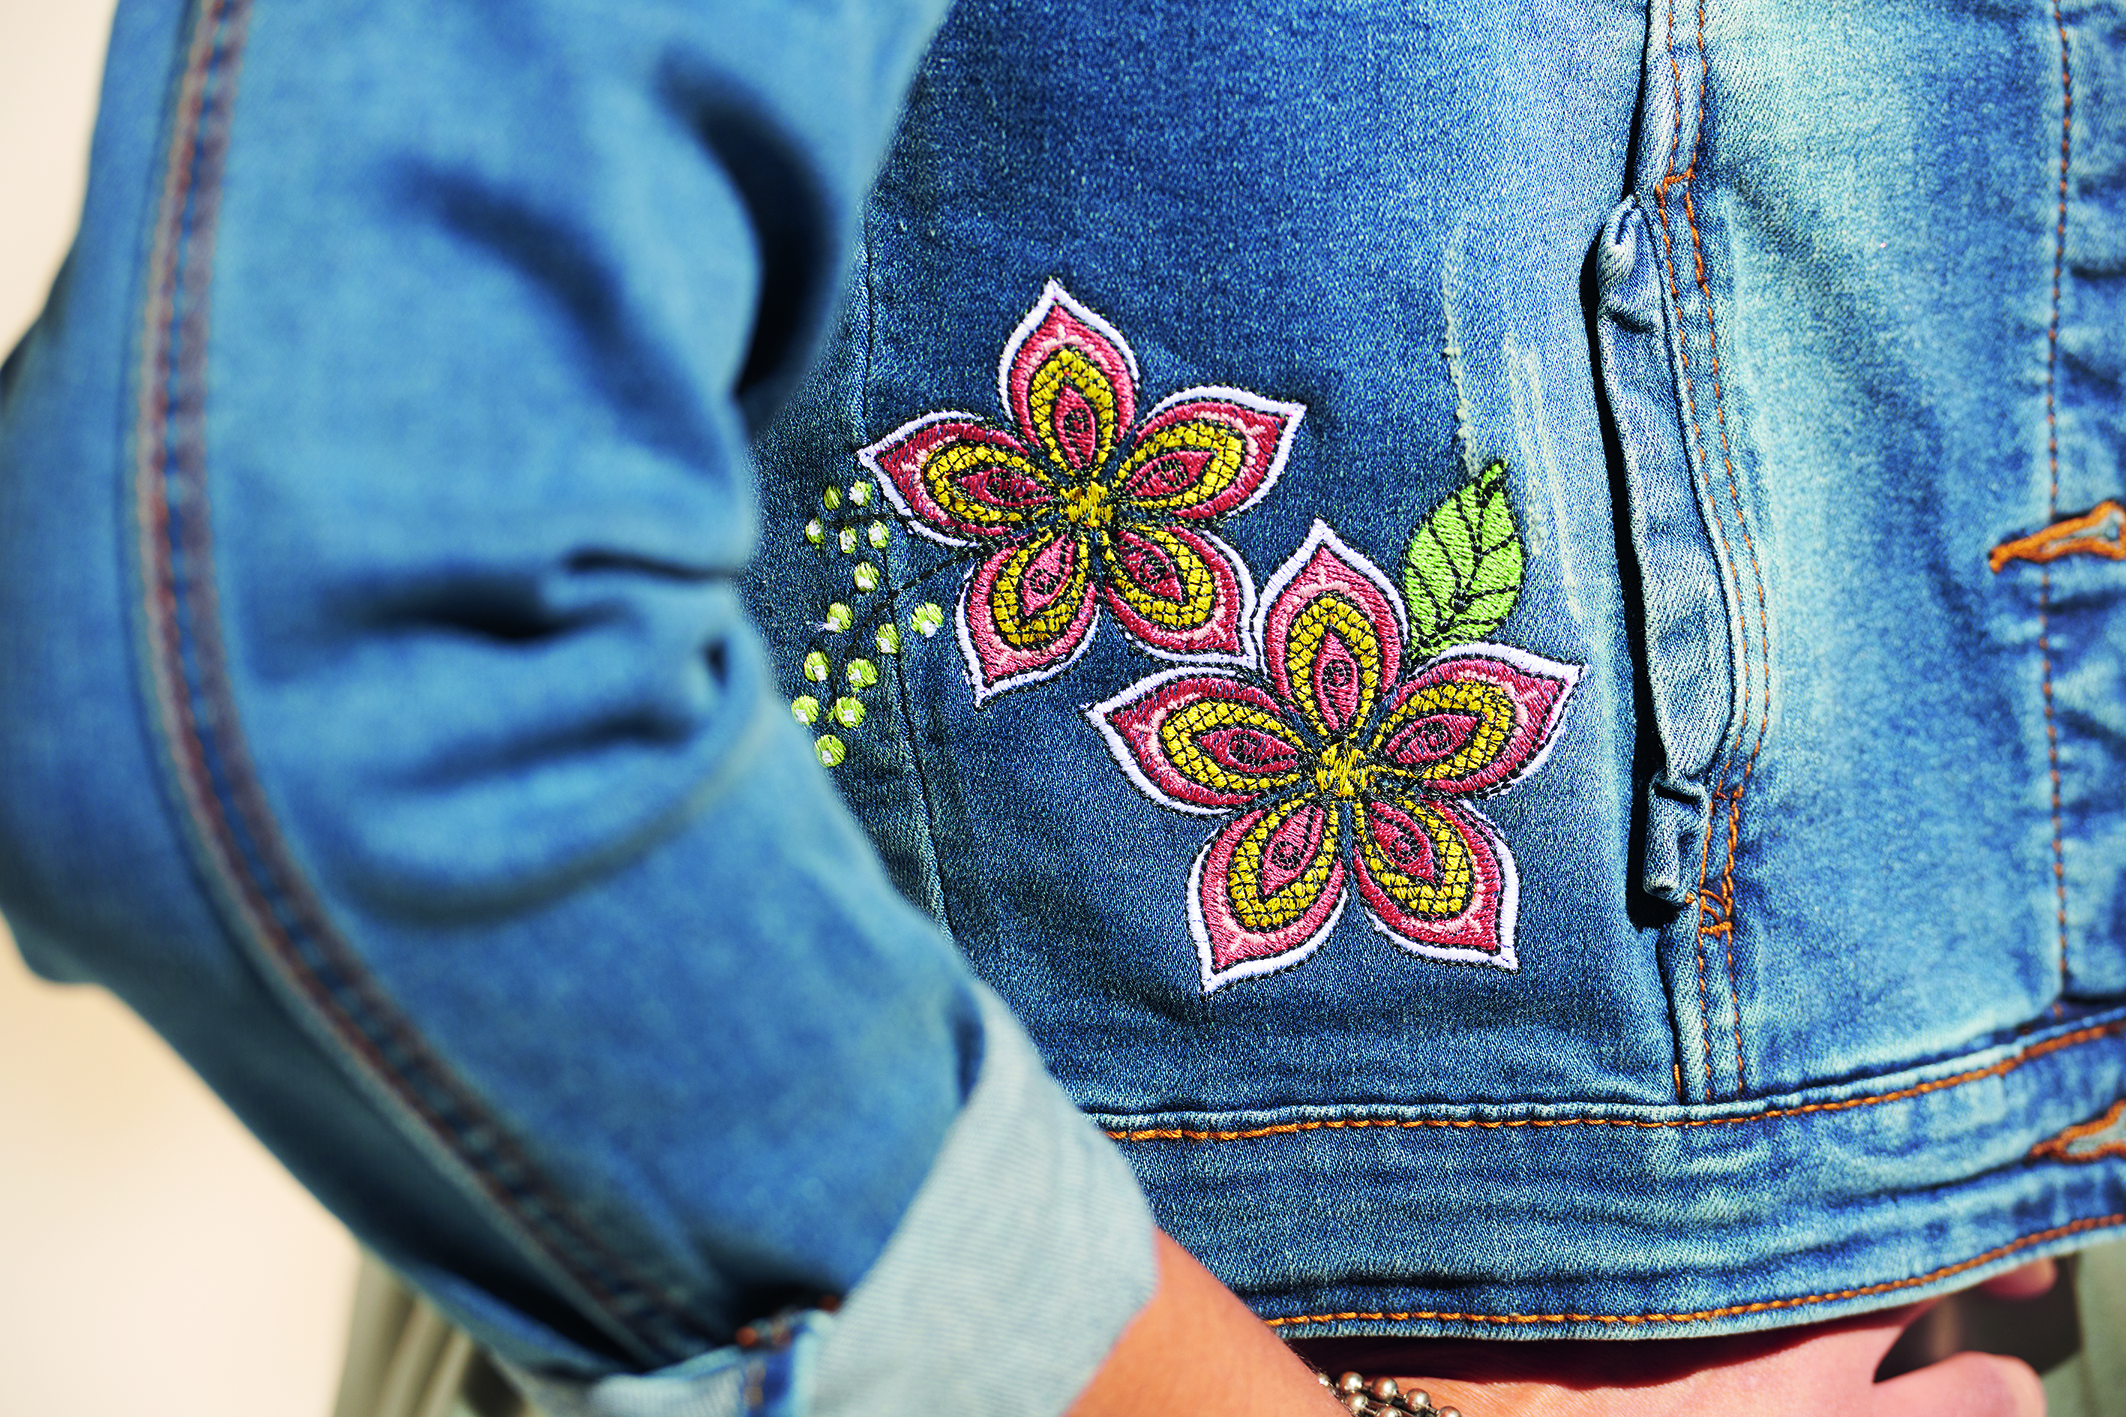
Introduction
Embroidery on denim with a machine is a popular and efficient way to add decorative designs and personalization to denim garments. Using a machine for embroidery on denim offers numerous benefits, including increased speed and precision, as well as the ability to create more intricate designs.

However, proper preparation is crucial before starting embroidery on denim with a machine. Denim is a sturdy fabric that can be challenging to work with, so taking the time to properly prepare the garment and machine will ensure a successful and high-quality embroidery result. In this article, we will discuss the benefits of using a machine for embroidery on denim, as well as the importance of proper preparation before starting.
Preparing the Denim for Embroidery
To ensure a successful embroidery result on denim, it is important to properly prepare the fabric before beginning. Here are some essential steps to take:
- Washing and Drying the Denim: Denim can shrink or fade during the first wash, so it is important to pre-wash the fabric before embroidery. This will also remove any sizing or chemicals that may interfere with the embroidery process. Once washed, the denim should be dried completely before proceeding to the next step.
- Marking the Design on the Denim: Using a removable fabric marker or tailor’s chalk, mark the design onto the denim. This will ensure that the design is centered and properly aligned. Be sure to use a light touch when marking the fabric, as heavy markings may be difficult to remove later.
- Choosing Appropriate Stabilizer: Stabilizer is a backing material used to provide support and prevent distortion during embroidery. For denim, a cutaway stabilizer is recommended, as it provides maximum stability and prevents stretching of the fabric. Be sure to choose a stabilizer that is appropriate for the weight and type of denim being used.
By taking these steps to properly prepare the denim, you can ensure a successful and high-quality embroidery result.
III. Setting up the Embroidery Machine
Once the denim has been properly prepared, it’s time to set up the embroidery machine. Here are the key steps to take:
- Choosing the Right Needle and Thread: Denim is a heavy fabric, so it’s important to choose a needle that is appropriate for the weight and thickness of the fabric. A size 90/14 or 100/16 needle is recommended for embroidery on denim. It’s also important to choose a thread that is strong and durable, such as polyester or rayon.
- Hooping the Denim and Stabilizer: Hooping the denim and stabilizer together ensures that the fabric is properly stabilized during embroidery. First, place the cutaway stabilizer on the inside of the denim, making sure it covers the area where the design will be embroidered. Then, place the hoop over the fabric and stabilizer, making sure that the design is centered and aligned with the markings made earlier.

- Setting up the Machine for Embroidery: Once the denim and stabilizer are hooped, it’s time to set up the embroidery machine. Follow the instructions in the machine’s manual to thread the machine and attach the hoop. Be sure to select the appropriate embroidery design and adjust the settings as needed, such as the stitch length, tension, and speed.
By following these steps to properly set up the embroidery machine, you can ensure that the embroidery is accurate, precise, and of high quality.
Embroidering on Denim
- Starting the embroidery: Before beginning the embroidery, it is important to prepare the denim fabric. You should wash and dry it beforehand to prevent any shrinkage that may occur later on. Next, decide on the design and mark it on the fabric with a water-soluble pen or chalk. You may also use an embroidery hoop to hold the fabric taut, which makes the stitching process easier.
- Ensuring proper tension and stitch quality: Proper tension is essential for achieving high-quality embroidery on denim. Too much tension can cause the fabric to pucker, while too little can result in loose stitches. Use a stabilizer underneath the fabric to keep the stitches even and prevent any distortion of the design. Adjust the tension of your embroidery machine and make sure the needle is the correct size for the fabric.
- Managing the fabric movement: Denim is a thick and sturdy fabric that can be difficult to manage during embroidery. To prevent the fabric from shifting or bunching up, use a slow stitching speed and guide the fabric through the machine by gently pulling it from behind. It may also help to use a specialized denim needle and adjust the presser foot pressure to ensure smooth movement of the fabric.
Finishing the Embroidery
- Removing the embroidery hoop: Once you have finished embroidering the denim fabric, it is time to remove the embroidery hoop. Loosen the hoop’s tension screw and gently lift it away from the fabric, being careful not to pull or stretch the stitches. If you notice any hoop marks on the fabric, lightly steam iron the area to remove them.
- Trimming the excess stabilizer: After removing the hoop, you may notice that there is excess stabilizer left on the back of the embroidery. Use sharp scissors or a rotary cutter to carefully trim away the excess stabilizer as close to the stitches as possible without cutting them. Be sure to remove all of the stabilizer to avoid any potential irritation or discomfort when wearing the garment.

- Ironing the finished embroidery: To give your finished embroidery a polished look, use a steam iron to gently press the fabric. Place a pressing cloth over the embroidery to protect the stitches and fabric from the heat. Use a low heat setting and avoid pressing directly on the embroidery to prevent any flattening or distortion of the stitches. This step will also help to remove any remaining hoop marks or wrinkles from the fabric.
Conclusion
- Recap of the embroidery process: Embroidering on denim can be a rewarding and fun project, but it requires some preparation and attention to detail. To begin, wash and dry the fabric before marking the design and securing it in an embroidery hoop. Adjust the machine’s tension and use a stabilizer to prevent any distortion of the design. Take your time guiding the fabric through the machine and use a slow stitching speed. Once the embroidery is complete, remove the hoop, trim any excess stabilizer, and iron the fabric to give it a polished look.
- Tips for successful denim embroidery with a machine:
- Choose a denim fabric with a tight weave and avoid stretch denim.
- Use a specialized denim needle and adjust the machine’s tension for best results.
- Experiment with different stabilizers to find the one that works best for your project.
- Use a slow stitching speed and guide the fabric through the machine to prevent any shifting or puckering.
- Pay attention to the design’s details and use the appropriate thread colors and stitch types.
- Practice on scraps of fabric before starting on your final project.
- Finally, have patience and enjoy the process! With some practice, you can create beautiful and unique embroidered denim pieces.
See Also-
- Best Embroidery Machine For Monogramming 2023
- Best Embroidery Machine For Hats 2023
- Best Embroidery Machine For Custom Designs 2023
- Best Computerized Embroidery Machine 2023
- Best Embroidery Machine For Beginners 2023


