
Last Updated on March 7, 2023 by Anna Dees

Image Source: cloudfront.net
Embroidery is a beautiful and unique form of art, and like any other type of art, it deserves to be properly displayed. If you’re lucky enough to own an embroidery piece, or if you’ve been given one as a gift, you might be wondering how to go about framing it.
Framing embroidery is not difficult, but there are a few things to keep in mind in order to do it properly. In this guide, we’ll walk you through everything you need to know about framing embroidery, from choosing the right frame to ensuring that your piece is properly mounted and protected. By the end, you’ll be an expert on framing embroidery like a pro!
Ways To Frame Embroidery

Image Source: stitchfloral.blogspot.com
Recycle An Old Frame
If you have an old frame that you don’t use anymore, recycle it and use it to frame your embroidery! Simply remove the glass and backing from the frame, and replace them with your embroidery. You can even paint or decorate the frame to give it a fresh new look.
Use A Frame With A Mat
If you want to give your embroidery a more finished look, use a frame with a mat. First, lay your embroidery down on the mat and center it. Then, use clear tape or pins to secure the embroidery to the mat. Finally, insert the mat and embroidery into the frame.
Use A Floating Frame
A floating frame is a great way to display your embroidery without hiding any of the design. To use a floating frame, first secure your embroidery to a piece of cardstock or cardboard using clear tape or pins. Then, insert the cardstock into the frame and secure it in place.
Use A Shadow Box Frame
A shadow box frame is perfect for displaying 3D embroidery designs. Simply place your embroidery inside the frame and secure it in place. Then, add any other embellishments or decorations that you want to include in the shadow box.
Hang Your Embroidery
If you don’t want to use a frame, you can simply hang your embroidery on the wall using clear tape or pins. This is a great way to display large embroideries or those that are too delicate to be framed. Plus, it’s a super-easy way to change up your decor!
Hopefully, these ideas have inspired you to get creative and frame your embroidery in a unique way. No matter how you choose to display it, your finished project is sure to be a beautiful addition to your home.
Benefits Of Framing An Embroidery

Image Source: bobostitch.co.uk
There are a number of benefits that come with framing and embroidery. First, it protects the piece from damage. Dust, sunlight, and moisture can all wreak havoc on even the most carefully preserved embroidery, causing it to fade or deteriorate over time.
Framing also allows you to display your work in a way that can be enjoyed by others. Whether you choose to frame it yourself or have it professionally done, a well-framed embroidery makes a beautiful addition to any home.
Finally, framing an embroidery can increase its value. If you ever decide to sell your piece, a potential buyer will be willing to pay more for a work that has been properly protected and displayed.
Things to Consider In Framing an Embroidery
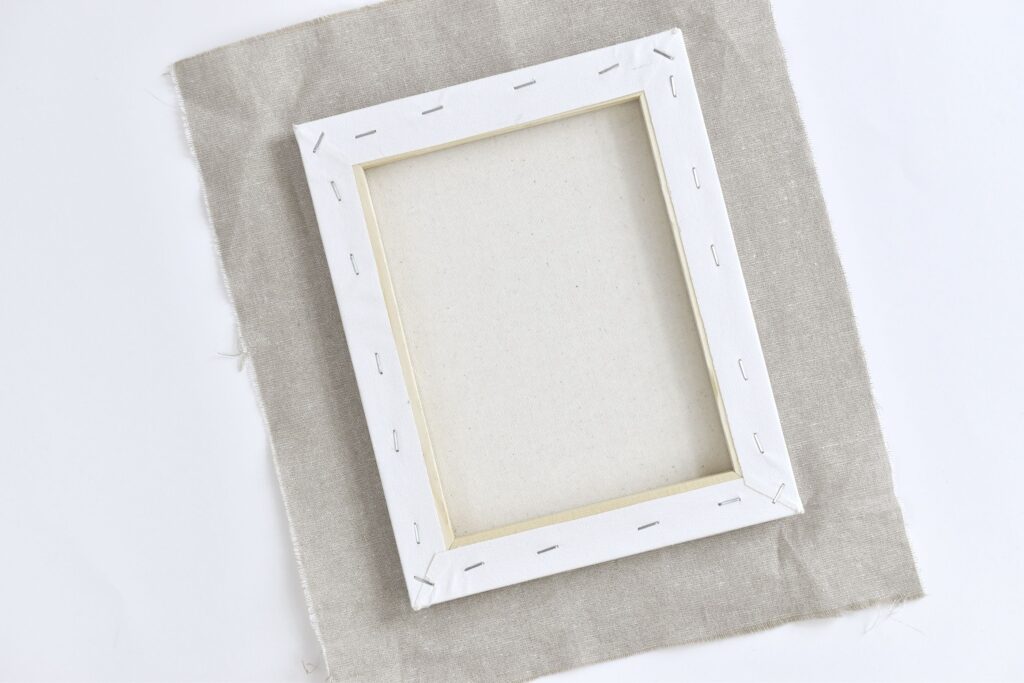
Image Source: thesprucecrafts.com
Type of Frame
There are many types of frames available in the market and each has its own advantages and disadvantages. For example, a metal frame is more durable but a wooden frame can give a more traditional look to your embroidery.
Size of Frame
The size of the frame should be appropriate for the size of the embroidery. If the embroidery is too small for the frame, it will look lost and out of place. On the other hand, if the embroidery is too big for the frame, it will look cluttered and cramped.
Color of Frame
The color of the frame should complement the color of the embroidery. For example, a white frame will go well with a white embroidery but may not be the best choice for a brightly colored embroidery.
Matting
Matting is an optional but recommended step in framing an embroidery. It helps to set off the embroidery and makes it look more finished. There are many types and colors of matting available so you can choose one that best suits your needs.
Glass
Glass is another optional but recommended step in framing an embroidery. It protects the embroidery from dust and other elements that could damage it over time. There are many types of glass available, such as clear, UV-resistant, and anti-glare.
Backing
The backing provides support for the embroidery and prevents it from sagging over time. It also makes it easier to hang the embroidery on a wall. There are many types of backing available, such as cardboard, foam board, and self-adhesive.
Hanging Hardware
Hanging hardware is necessary for hanging the embroidery on a wall. There are many types of hardware available, such as nails, screws, hangers, and hooks.
Following these tips will help you choose the best way to frame your embroidery. With a little bit of planning, you can create a beautiful and professional-looking display for your work.
Final Thoughts
Embroidery is a beautiful way to add a personal touch to your home. But if you don’t frame it properly, it can quickly become damaged or faded. With this complete guide, you now know how to frame embroidery the right way. Just remember to use the proper materials and techniques, and take your time. With a little bit of effort, you can create a stunning display that will last for years.

I’m Anna Dees, founder and editor of grandmaembroidery.com. I have been in the embroidery business for more than two decades, providing customers with quality fabric, threads, designs and helpful advice to create beautiful projects. My blog is dedicated to sharing my knowledge, tips and tricks related to embroidery as well as showcasing the work of fellow embroiderers around the world. I’m passionate about helping others learn more about this wonderful craft and fostering a sense of community among embroidery enthusiasts. With grandmaembroidery.com, I aim to be your go-to source for all things related to embroidery!