Last Updated on March 7, 2023 by Anna Dees
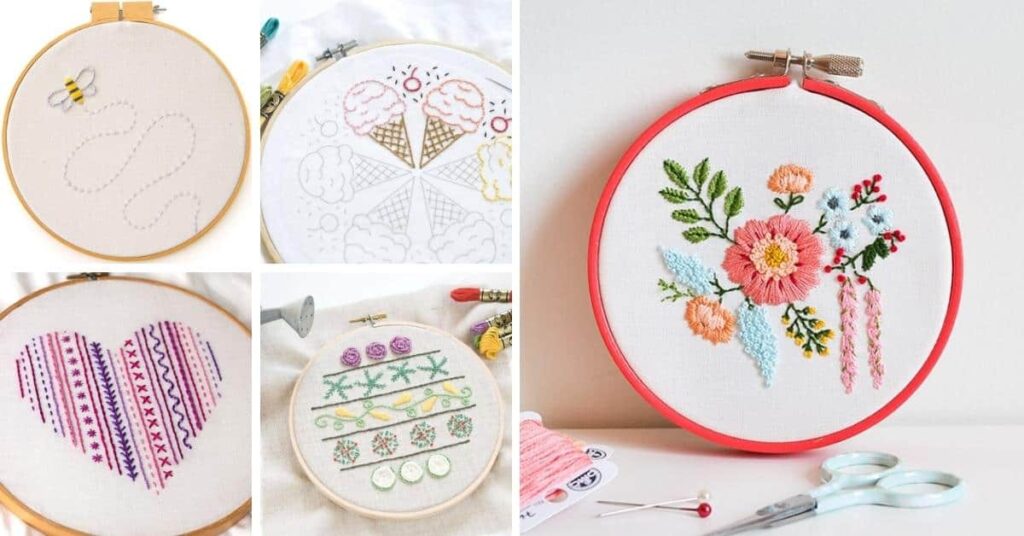
Image Source: silverbobbin.com
Embroidery is a beautiful art form that has been around for centuries. While it may seem daunting to beginners, it is quite simple once you know the basics. In this guide, we will walk you through the steps of how to make an embroidery pattern from scratch. We will also provide some tips and tricks for beginners along the way.
Steps On Making An Embroidery Pattern
Choose Your Design
The first step in creating an embroidery pattern is to choose a design. This can be anything from a simple geometric shape to a complex illustration. If you are just starting, we recommend choosing something relatively simple. Once you have chosen your design, trace it onto a piece of tracing paper or transfer it onto your fabric with a transfer pencil.

Image Source: peacockandfig.com
Make a template
Once you have your design traced out, it’s time to make a template. You can do this by cutting out a piece of cardstock or heavy paper that is the same size as your tracing paper or fabric. Then, use a sharpie or other permanent marker to trace your design onto the cardstock. Once you have traced your design, cut it out with scissors.
Transfer your design
Now that you have a template, it’s time to transfer your design onto your fabric. Simply lay the template on top of the fabric and trace around it with a pencil if you’re using trace paper.
Place the paper template on top of the fabric and trace around it with a transfer pencil if you’re doing this without a scanner. Once you have traced your design, remove the template and you should be left with a faint outline of your design on the fabric.
Start embroidering
Now that your design is transferred onto the fabric, it’s time to start embroidering. Begin by threading a needle with embroidery floss. Then, tie a knot at the end of the floss. Start at the center of your design and work your way out. Use a simple running stitch to outline your design. Once you have outlined your design, fill it in with whatever stitch you like. There are many different stitches you can use, so feel free to experiment.
Finish up
Once you have finished embroidering your design, cut off the excess floss and tie a knot at the end. Then, trim the fabric around your design, leaving a 1/4″ seam allowance. Finally, iron your embroidery to set the stitches and you’re done!
Different Types Of Embroidery Patterns

Image Source: idealme.com
There are three different types of embroidery patterns which include hand-drawn, computer-generated, and purchased patterns. If you’re not sure which type of pattern to use for your project, here is a brief overview of each:
Hand Drawn Embroidery Patterns
As the name suggests, these patterns are designed by hand, either by the embroiderer or by a professional artist. Hand-drawn patterns tend to be more intricate and detailed than other types of patterns, making them ideal for complex designs.
Computer Generated Embroidery Patterns
These patterns are created using specialized software and can be customized to fit your specific project requirements. Computer-generated patterns are typically less detailed than hand-drawn patterns, but they offer a more consistent and precise design.
Purchased Embroidery Patterns
There are a variety of places where you can purchase embroidery patterns, both online and in brick-and-mortar stores. Purchased patterns tend to be less expensive than hand-drawn or computer-generated patterns, but they may not be as unique or customized to your project.
Tips And Tricks In Making An Embroidery Pattern

Image Resource: thesprucecrafts.com
If you’re thinking of making your own embroidery pattern, there are some things to keep in mind. Here are tips and tricks for making an embroidery pattern that will help you get started.
- Simplicity is key. When it comes to embroidery, less is usually more. So when creating your own pattern, try to keep it as simple as possible. A complex design will not only be more difficult to stitch, but it will also take longer.
- Use a light-colored fabric. This will make it easier to see your stitches and make any necessary adjustments.
- Use a sharp needle. This will help prevent your thread from breaking and make it easier to take out any stitches you may need to remove.
- Experiment with different stitches. There are a variety of stitches you can use for embroidery and each has its own unique look. Try out different stitches to see which one you like best.
- Take your time. Embroidery is a relaxing and enjoyable activity, so take your time and enjoy it. Don’t worry if it takes you a while to finish your project, the important thing is that you’re happy with the results.
By following these tips, you’ll be on your way to creating beautiful and unique embroidery patterns in no time.
Conclusion
If you’re looking for a fun and easy way to add a personal touch to your clothes, accessories, or home decor, embroidery is a great option! With just a little bit of practice, you can create beautiful patterns and designs that are sure to impress.

I’m Anna Dees, founder and editor of grandmaembroidery.com. I have been in the embroidery business for more than two decades, providing customers with quality fabric, threads, designs and helpful advice to create beautiful projects. My blog is dedicated to sharing my knowledge, tips and tricks related to embroidery as well as showcasing the work of fellow embroiderers around the world. I’m passionate about helping others learn more about this wonderful craft and fostering a sense of community among embroidery enthusiasts. With grandmaembroidery.com, I aim to be your go-to source for all things related to embroidery!

