
Introduction
- Machine embroidery is the process of creating designs or patterns on fabric using a specialized embroidery machine. The machine is programmed to stitch the design onto the fabric using different colored threads, creating a textured and visually appealing result.
- Embroidering hats and caps with a machine has several benefits. Firstly, it allows for precise and intricate designs to be created quickly and easily. It also ensures consistency in the design, as the machine will replicate the pattern exactly each time it is used. Additionally, machine embroidery can be more cost-effective than traditional hand embroidery, as it requires less time and effort to produce each item.

- To embroider hats and caps with a machine, you will need a few key materials. These include the embroidery machine itself, embroidery threads in various colors, embroidery stabilizer (which helps to keep the fabric taut and prevent it from puckering during the stitching process), and the hats or caps you wish to embroider. It is important to choose hats and caps made from materials that can withstand the heat and pressure of the embroidery process, such as cotton or polyester blends.

Preparing the Hat or Cap
- Choosing the right type of hat or cap is essential for successful machine embroidery. It is important to select hats or caps that are made from materials that can withstand the embroidery process, such as cotton or polyester blends. Structured hats with a firm front panel are also preferable, as they provide a stable surface for the embroidery.
- Cleaning the hat or cap is important to ensure that the embroidery process produces the best results. Any dirt, dust, or stains on the hat can interfere with the embroidery, so it is recommended to clean the hat or cap before beginning. This can be done using a mild detergent and warm water, or by using a specialized hat cleaning product.
- Stabilizing the hat or cap is necessary to prevent the fabric from shifting or puckering during the embroidery process. Embroidery stabilizer can be used to support the fabric and keep it taut, ensuring that the embroidery is smooth and consistent. Different types of stabilizer are available, depending on the fabric and the complexity of the design.
- Hooping the hat or cap involves placing the fabric onto an embroidery hoop, which holds it in place during the embroidery process. This step requires careful attention to ensure that the fabric is evenly tensioned and the design is centered on the hat. A hooping aid can be helpful in this process, as it provides guidance for positioning the fabric and hoop correctly.
III. Creating the Embroidery Design
- Choosing the design is an important step in the embroidery process. The design should be appropriate for the hat or cap being embroidered and suit the intended purpose of the item. Designs can be sourced from online resources, purchased from embroidery design shops, or created from scratch.
- Digitizing the design involves converting the chosen design into a format that can be read by the embroidery machine. This requires specialized software and expertise, as the design must be converted into a series of commands that the machine can understand. The digitized design should be optimized for the fabric and the embroidery machine being used.
- Loading the design onto the machine requires transferring the digitized design from the computer to the embroidery machine. This can be done using a USB drive or a direct connection between the computer and the machine. Once the design has been loaded, it can be selected on the machine and the embroidery process can begin. It is important to double-check the design and the settings on the machine to ensure that the embroidery will be produced according to the desired specifications.

Embroidering the Hat or Cap
- Setting up the machine involves preparing the embroidery machine for use. This includes selecting the appropriate needle and thread, adjusting the tension settings, and ensuring that the machine is clean and free from any obstructions. It is important to refer to the manufacturer’s instructions to ensure that the machine is set up correctly.
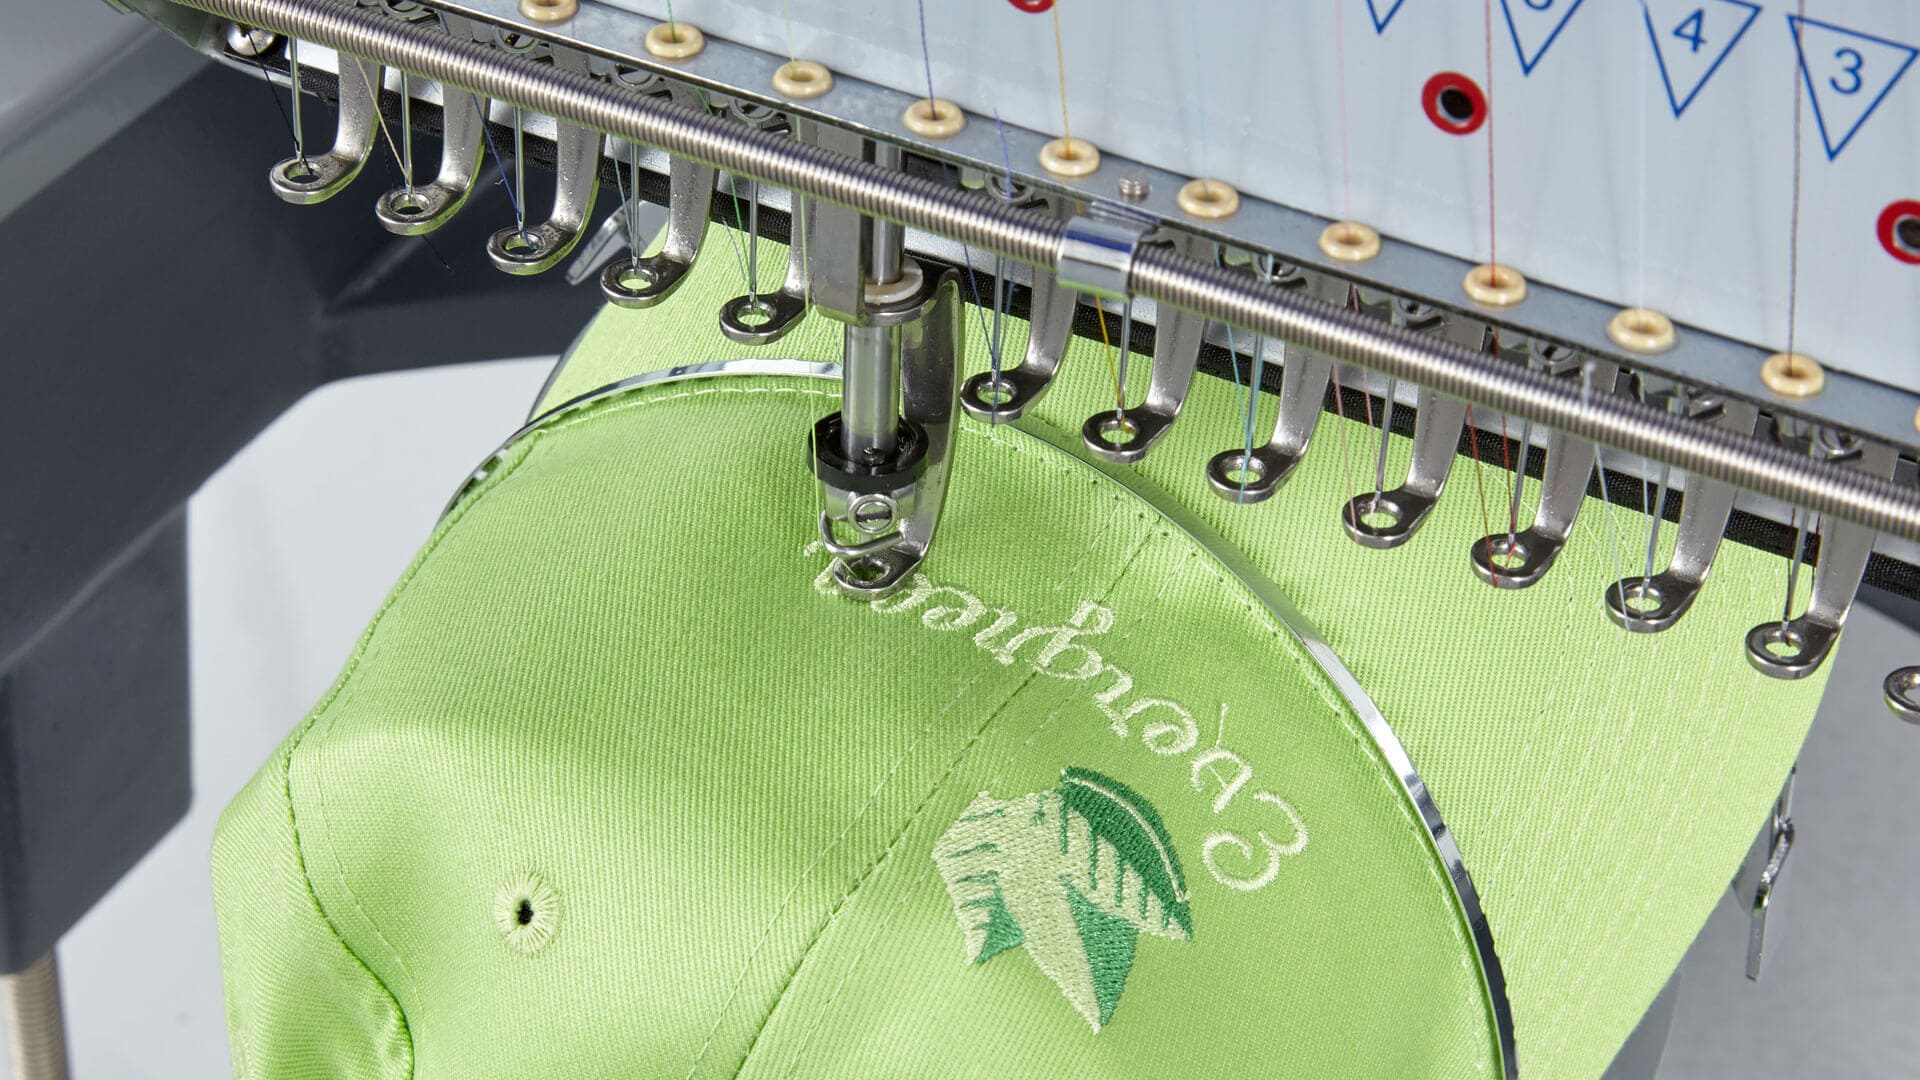
- Running the embroidery program involves selecting the digitized design on the embroidery machine and starting the embroidery process. The machine will begin stitching the design onto the hat or cap according to the programmed commands. It is important to monitor the machine during the embroidery process to ensure that it is running smoothly and that the design is being stitched correctly.
- Trimming the threads involves removing any excess thread from the hat or cap once the embroidery process is complete. This can be done using a pair of scissors or a specialized thread trimming tool. It is important to take care when trimming the threads to avoid damaging the embroidery or the fabric of the hat or cap. Once the threads have been trimmed, the hat or cap is ready to wear or sell.
Finishing the Embroidered Hat or Cap
- Removing the stabilizer is an important step in the finishing process. The stabilizer is designed to support the fabric during the embroidery process, but it is not intended to be left in place permanently. Depending on the type of stabilizer used, it can be removed by tearing it away from the fabric or by dissolving it in water.
- Cleaning the hat or cap after embroidery is important to ensure that it is ready for use or sale. Any residue or debris from the embroidery process should be removed using a gentle detergent and warm water. It is important to follow the manufacturer’s instructions for cleaning the hat or cap to avoid damaging the fabric or the embroidery.
- Inspecting the embroidery is the final step in the process. This involves carefully examining the embroidery to ensure that it meets the desired standards for quality and appearance. Any loose threads or flaws in the embroidery should be addressed, and the hat or cap should be corrected as needed. Once the inspection is complete, the hat or cap is ready to be worn or sold as a finished product.
Conclusion
Machine embroidery offers a range of benefits for those looking to create customized hats or caps. It allows for precise and detailed designs, fast and efficient production, and the ability to replicate designs consistently.
- To recap the steps involved in embroidering a hat or cap with a machine, they are:
Preparing the hat or cap by choosing the right type, cleaning it, stabilizing it, and hooping it.
Creating the embroidery design by choosing a design, digitizing it, and loading it onto the machine.
Embroidering the hat or cap by setting up the machine, running the embroidery program, and trimming the threads.
Finishing the embroidered hat or cap by removing the stabilizer, cleaning it, and inspecting the embroidery.
Final thoughts and tips to consider when embroidering hats or caps with a machine:
Practice makes perfect. It may take a few tries to get the hang of embroidering hats or caps with a machine, so be patient and keep practicing.
Use high-quality materials. Investing in quality hats, thread, stabilizer, and embroidery machine will result in higher quality finished products.
Take care when hooping the hat or cap. It is important to ensure that the fabric is taut and the design is centered to avoid any distortion in the finished embroidery.
Experiment with different designs and techniques. Machine embroidery offers endless possibilities for creative expression, so don’t be afraid to try out new designs and techniques.
Overall, machine embroidery can be a rewarding and enjoyable process for those looking to create customized hats or caps. With the right materials, equipment, and techniques, anyone can create professional-looking embroidered hats or caps with ease.
See Also-
- Best Embroidery Machine For Patches
- Best Embroidery Machine For Small Business
- Best Embroidery Machine For Large Designs
- Best Computerized Embroidery Machine
- Best Embroidery Machine For Custom Designs