
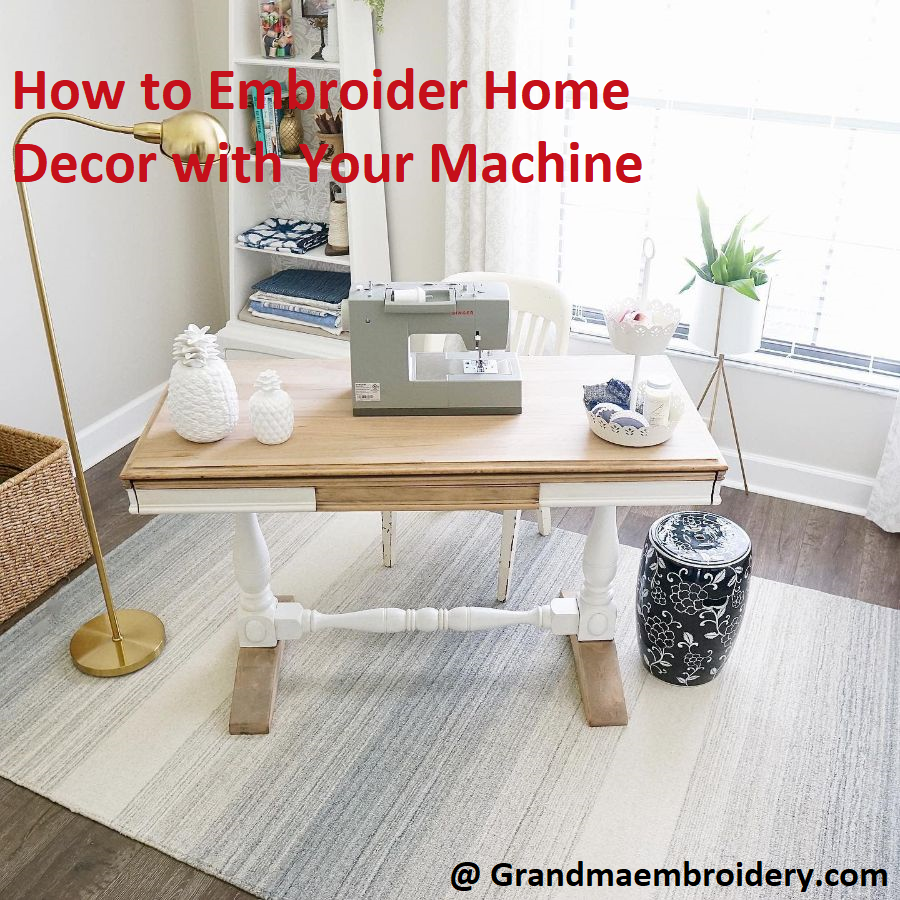
Introduction
Machine embroidery is a process of creating intricate designs on fabric using computerized machines. It involves the use of specialized software to digitize the design, which is then transferred to the embroidery machine. The machine then uses various stitches and colors to stitch the design onto the fabric.
One of the major benefits of machine embroidery is the speed and accuracy with which it can produce intricate designs. Compared to hand embroidery, machine embroidery can complete designs in a fraction of the time, and with a higher level of precision. Additionally, machine embroidery allows for the creation of more complex designs that may be difficult or impossible to achieve by hand.
Machine embroidery is also ideal for producing large quantities of items with the same design, such as custom clothing or promotional items. It is also commonly used in the production of items such as patches, badges, and emblems. Overall, machine embroidery offers a fast, precise, and versatile method of adding custom designs to a wide range of fabric items.
Materials Needed for Machine Embroidery
To get started with machine embroidery, you will need the following materials:
- Embroidery machine: A specialized machine that is designed to stitch embroidery designs onto fabric. These machines come in a variety of sizes and types, from small home machines to large commercial models.
- Embroidery thread: A special type of thread that is designed specifically for use in embroidery machines. Embroidery thread is typically made from rayon or polyester and comes in a wide range of colors.
- Stabilizer: A material that is used to support the fabric during the embroidery process. Stabilizer is available in a variety of types, including tear-away, cut-away, and water-soluble.
- Fabric: The material that the embroidery design will be stitched onto. Fabric can be made from a variety of fibers, including cotton, polyester, and silk.
- Embroidery hoop: A circular or rectangular frame that is used to hold the fabric taut while it is being embroidered. Embroidery hoops come in a variety of sizes to accommodate different fabric sizes and machine types.
- Embroidery needles: Specialized needles that are designed for use in embroidery machines. These needles are typically sharper and thinner than regular sewing needles.
- Embroidery designs: The digital files that contain the design that will be stitched onto the fabric. Embroidery designs can be created using specialized software or purchased from online marketplaces.
Each of these materials plays a critical role in the machine embroidery process, and it is important to choose high-quality materials to ensure the best possible results.
III. Choosing a Design
When it comes to machine embroidery, there are several ways to choose a design:
- Create your own design: If you have experience with graphic design software, you can create your own embroidery designs using specialized software. This allows you to create a truly custom design that is unique to your project.
- Purchase a design online: There are many online marketplaces that offer embroidery designs for purchase. These designs are typically created by professional designers and can be downloaded directly to your computer.
- Use pre-loaded designs: Many embroidery machines come with pre-loaded designs that you can use right out of the box. These designs are typically basic designs that are suitable for a wide range of projects.
When choosing a design for machine embroidery, there are several factors to consider:

- Size: The size of the design should be appropriate for the size of the item you are embroidering. If the design is too large or too small, it may not look proportional.
- Complexity: Consider the level of detail in the design. More complex designs may require a higher level of skill and may take longer to complete.
- Color: Think about the colors you want to use in the design and make sure you have the appropriate thread colors on hand.
- Placement: Consider where the design will be placed on the item. Some designs may work better on certain areas than others.
By considering these factors, you can choose a design that is not only visually appealing but also suitable for your specific project.
Preparing the Fabric
Preparing the fabric is an important step in machine embroidery to ensure the design is stitched accurately and beautifully. Here are the steps to prepare fabric for machine embroidery:
- Wash the fabric: Before embroidering, it is essential to wash the fabric to remove any dirt or chemicals that may interfere with the embroidery process. This also helps to prevent shrinking after the embroidery is done.
- Iron the fabric: After washing, iron the fabric to remove any wrinkles or creases. This helps to keep the fabric taut while it is being embroidered.
- Cut the fabric to size: Cut the fabric to the size you need for your project. It is recommended to cut a few extra inches to allow for the fabric to be secured in the embroidery hoop.
- Apply stabilizer: Apply the appropriate type of stabilizer to the back of the fabric, following the manufacturer’s instructions. The stabilizer helps to keep the fabric from puckering or stretching during embroidery.
- Hoop the fabric: Place the fabric in the embroidery hoop, making sure it is taut and secure. Ensure that the design will be centered on the fabric before tightening the hoop.
Tips for choosing fabric for machine embroidery:
- Consider the weight and texture of the fabric. Heavier fabrics, such as denim or canvas, may require a stronger stabilizer to support the embroidery.
- Choose a fabric with a tight weave. Loosely woven fabrics, such as gauze or mesh, may be difficult to embroider accurately.
- Consider the color of the fabric. Lighter colored fabrics may require a lighter colored stabilizer to prevent the stabilizer from showing through the embroidery.
By following these steps and tips, you can prepare your fabric for machine embroidery and achieve the best results possible.
Setting up the Machine
To set up your embroidery machine, follow these steps:
- Read the manual: Before starting to set up your embroidery machine, read the manual thoroughly. It will give you a clear understanding of the machine and how to operate it.
- Attach the embroidery hoop: Attach the embroidery hoop to the machine. The hoop is where you will place the fabric that you want to embroider.
- Thread the machine: Thread the machine with the appropriate thread for the design you want to embroider. Use the thread recommended by the manufacturer for best results.
- Choose the design: Select the design you want to embroider on your fabric. You can either use the built-in designs on your machine or transfer a design from your computer.
- Adjust the tension: Adjust the tension of the machine according to the fabric and thread you are using. Test the tension before starting the embroidery to ensure that the stitches are even and balanced.
- Start the machine: Start the machine and begin the embroidery. Monitor the machine throughout the process to ensure that everything is going smoothly.
Tips for adjusting the machine for the best embroidery results:

- Use the right needle: Use the correct needle for the fabric you are embroidering. A fine needle is best for lightweight fabrics, while a larger needle is suitable for heavy fabrics.
- Use quality thread: Use high-quality thread that is designed for embroidery. Cheap thread can cause breakage and affect the overall quality of the embroidery.
- Use stabilizer: Use stabilizer to support the fabric during the embroidery process. This will prevent puckering and distortion of the design.
- Clean the machine regularly: Regular cleaning of the machine will ensure that it runs smoothly and produces high-quality embroidery.
- Adjust the tension: Adjust the tension of the machine according to the thread and fabric you are using. Test the tension on a small piece of fabric before starting the embroidery.
By following these steps and tips, you can set up your embroidery machine and achieve the best embroidery results possible.
Embroidering the Design
Embroidering a design requires patience and attention to detail. Here is a step-by-step guide to embroidering the design:
- Hoop the fabric: Hoop the fabric by inserting it into the embroidery hoop and tightening the hoop screw. Make sure the fabric is taut and smooth.
- Thread the needle: Thread the needle with the color thread you want to use for the first part of the design. Tie a knot at the end of the thread.
- Start the design: Start the design by pressing the start button on your embroidery machine. The machine will begin to stitch the design.
- Monitor the machine: Monitor the machine while it is stitching the design. Make sure that the thread is feeding correctly and the fabric is staying in place.
- Change colors: When the machine stops to change colors, trim the thread and rethread the needle with the new color. Tie a knot at the end of the new thread.
- Complete the design: Continue stitching the design until it is complete. Once finished, remove the fabric from the embroidery hoop and trim any excess thread.
Tips for embroidering the design efficiently and accurately:
- Test the design: Test the design on a small piece of fabric before starting on your final project. This will allow you to make any necessary adjustments.
- Use a lightbox: Use a lightbox to help you position the design correctly on the fabric. Place the design on the lightbox and place the fabric on top. The light will shine through the design, making it easier to see where to position the fabric.
- Use a magnifying glass: Use a magnifying glass to help you see the details of the design more clearly. This will help you to stitch the design more accurately.
- Check the tension: Check the tension of the machine regularly to ensure that the stitches are even and balanced.
- Clean the machine: Clean the machine regularly to prevent any build-up of dust or lint that can affect the embroidery quality.
By following these tips and steps, you can embroider your design efficiently and accurately, producing high-quality embroidery.
VII. Finishing the Project
Finishing an embroidered project is an exciting moment, and it’s essential to take the right steps to preserve your hard work. Here are the steps to finish your embroidered project:
- Remove the hoop: Remove the embroidery hoop from the fabric.
- Trim excess threads: Trim any excess threads on the front and back of the fabric.
- Wash the fabric: Wash the fabric to remove any marks or stabilizer residue. Follow the washing instructions for the fabric.
- Iron the fabric: Iron the fabric on the reverse side to remove any wrinkles and restore its shape.
- Frame or display the project: Once the fabric is dry and ironed, you can frame or display it according to your preference.
Tips for displaying or using the finished project:
- Choose the right frame: Choose a frame that complements the design and fits the size of the fabric.
- Protect the fabric: If the fabric will be exposed to sunlight, use UV-protective glass to prevent fading.
- Avoid direct contact: Avoid direct contact with the embroidery if it will be frequently touched or used. Frame the embroidery under glass to protect it.
- Hang the embroidery: When hanging the embroidery, use a sturdy hanging system that can support the weight of the frame.
- Use the embroidery: If you have embroidered a garment or accessory, follow the care instructions for the fabric and avoid excessive wear and tear.
By following these steps and tips, you can finish and display your embroidered project beautifully and preserve it for years to come.
VIII. Conclusion
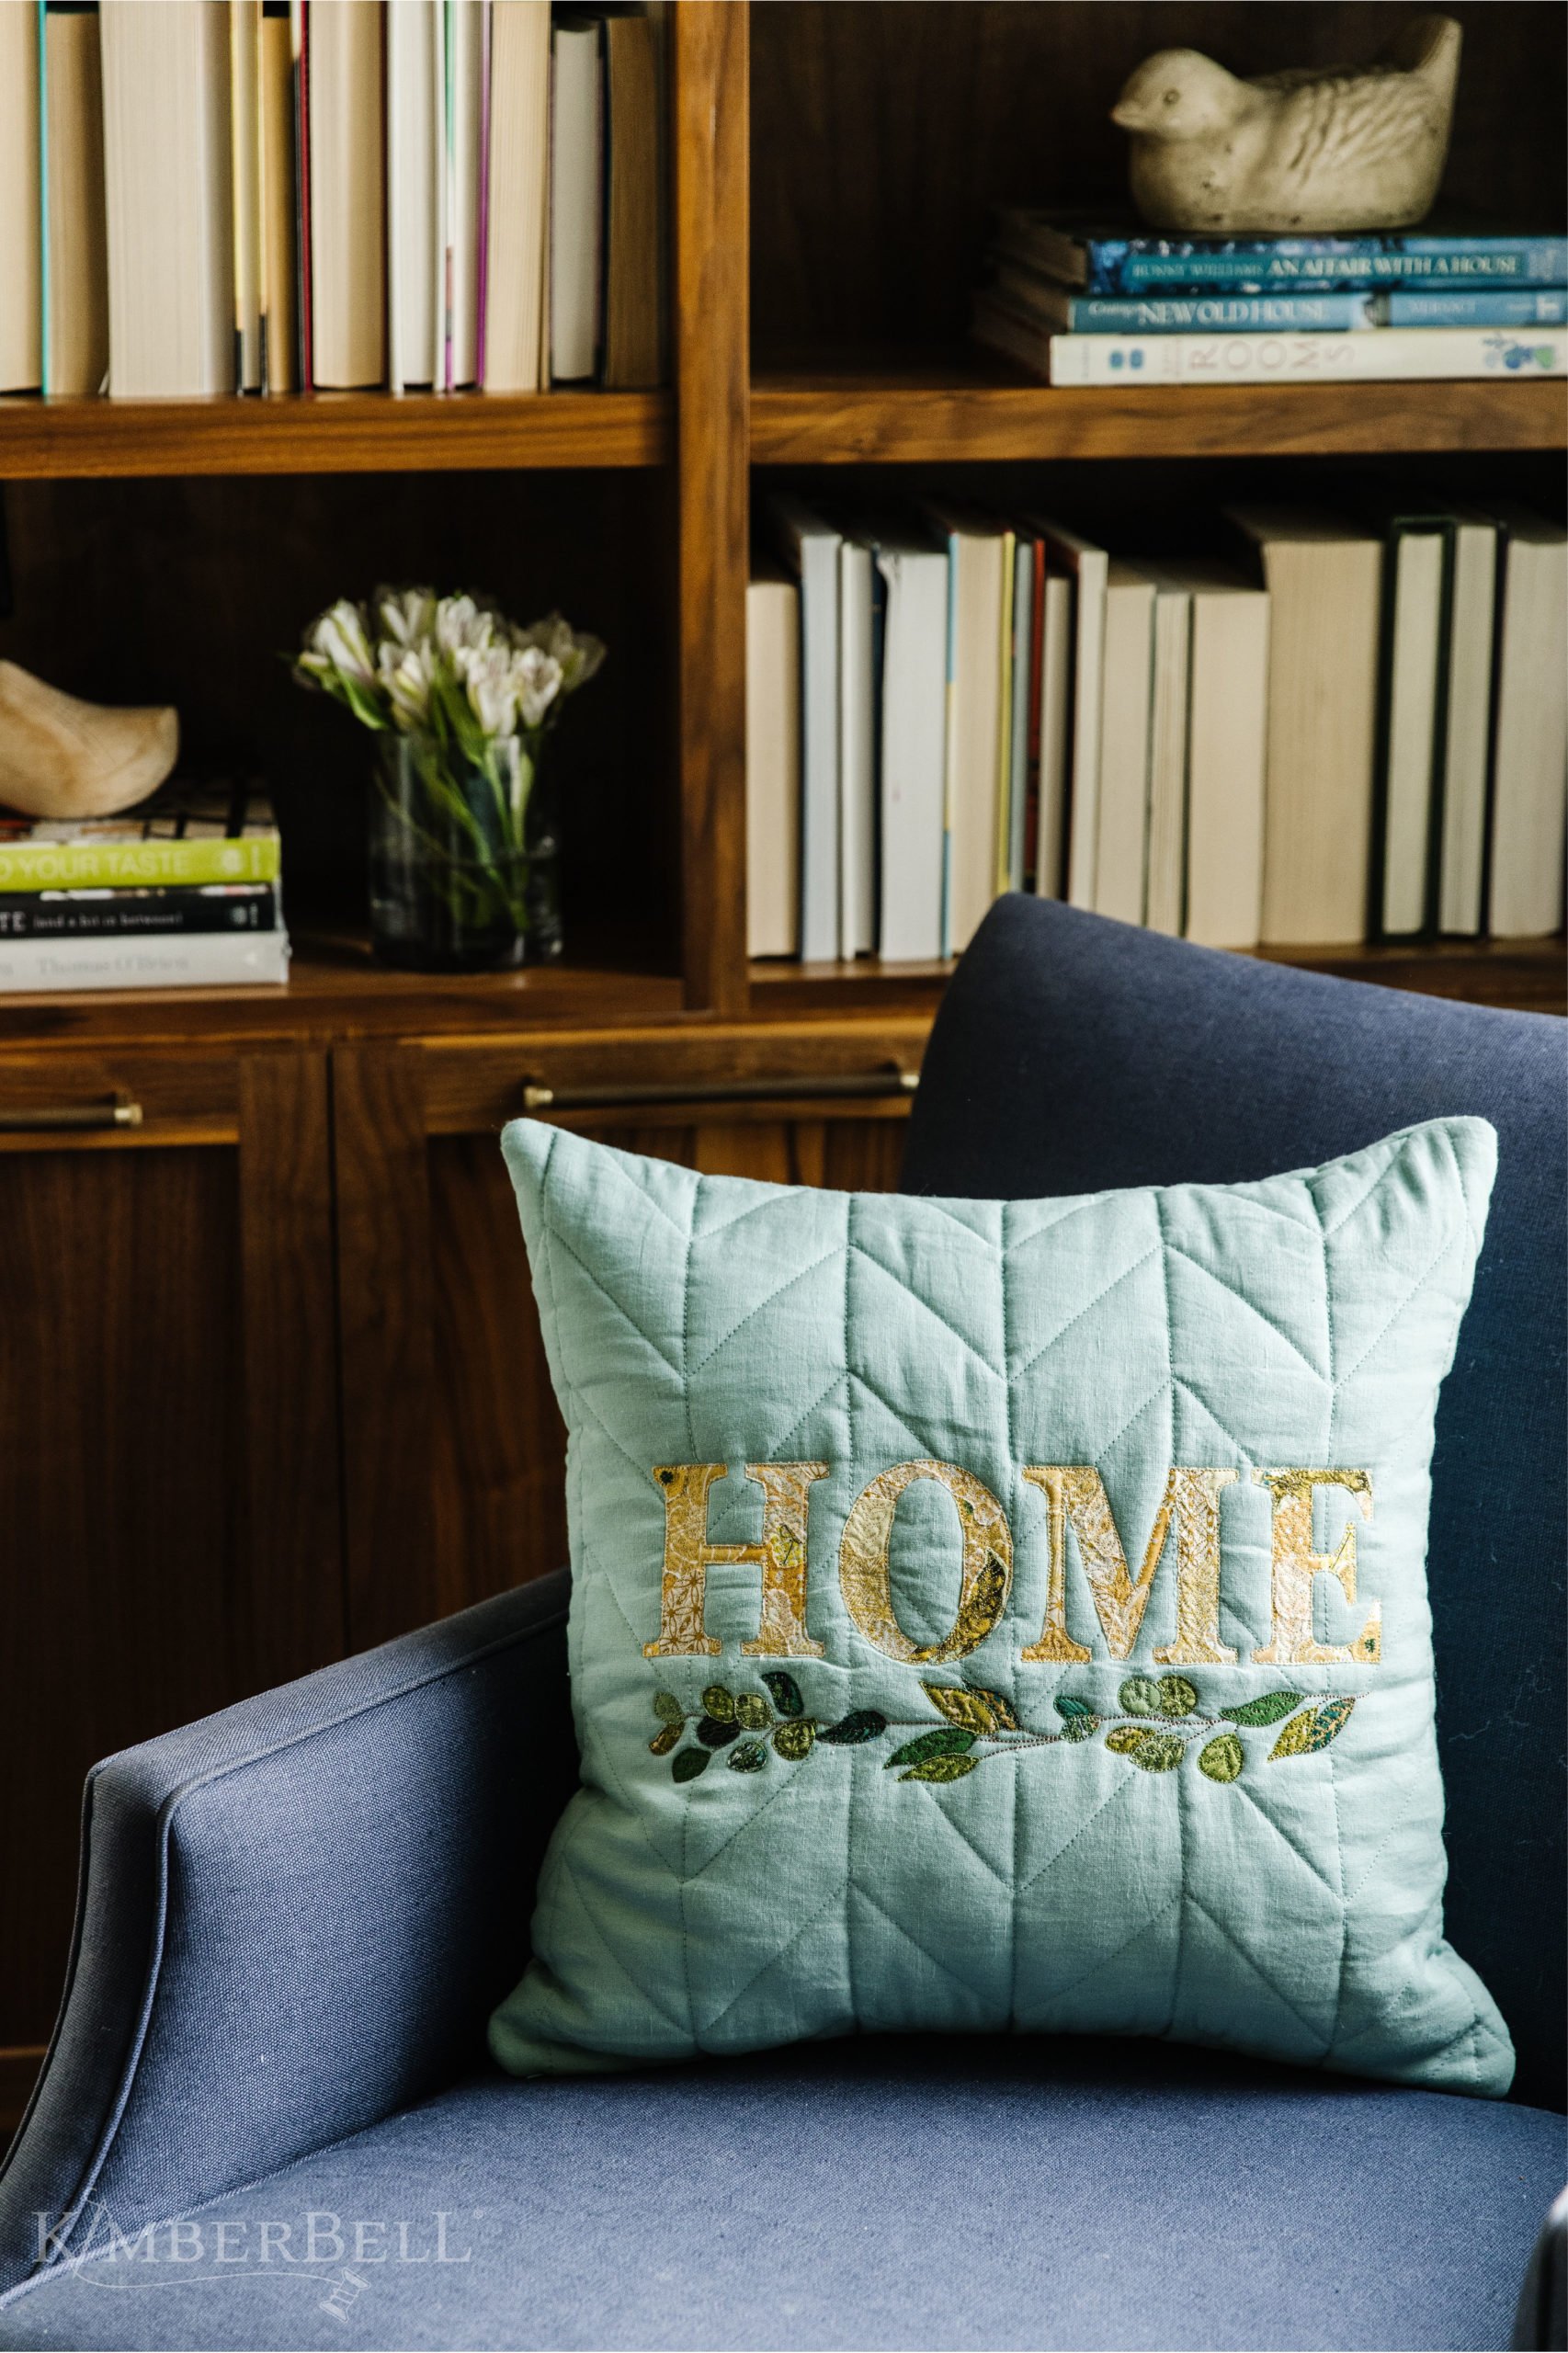
In conclusion, machine embroidery is an excellent way to add a personal touch to your home decor. Here’s a recap of the benefits of machine embroidery for home decor:
- Customization: Machine embroidery allows you to create custom designs that reflect your personality and style.
- Durability: Machine embroidery is durable and long-lasting, making it perfect for items that will see frequent use.
- Professional finish: Machine embroidery creates a professional and polished finish that adds value to your home decor.
- Versatility: Machine embroidery can be used on a wide range of fabrics, making it versatile for various home decor projects.
We encourage you to try machine embroidery at home. With the right machine, materials, and techniques, you can create beautiful embroidery that adds a unique touch to your home decor. Don’t be afraid to experiment with different designs, colors, and techniques to find what works best for you. With practice and patience, you’ll soon be creating beautiful embroidery projects that you can be proud of.
See Also-
- Best Computerized Embroidery Machine
- Best Embroidery Machine For Custom Designs
- Best Embroidery Machine For Hats
- Best Embroidery Machine For Monogramming
- Best Embroidery Machine Under $1000