
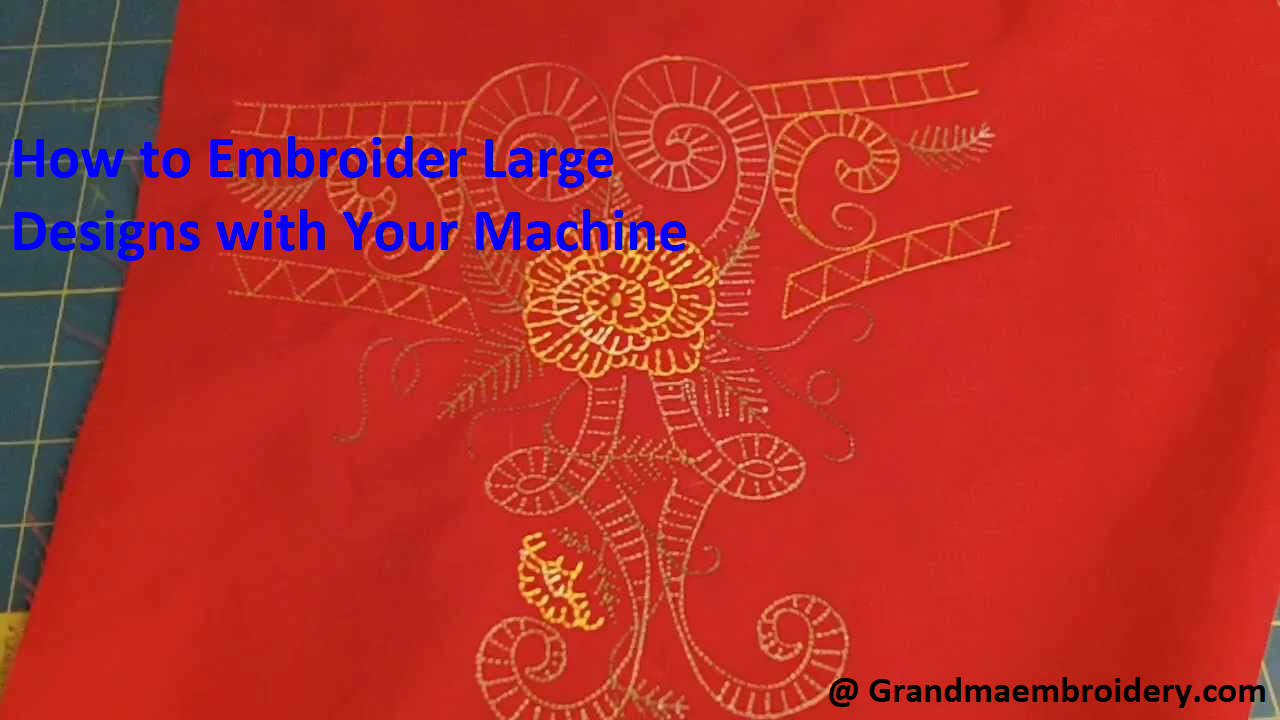
Introduction
Embroidery is the art of decorating fabrics or other materials using needle and thread. This practice has been around for centuries and has been used to embellish clothing, household items, and even religious artifacts. With the advent of technology, embroidery machines have become increasingly popular, allowing for faster and more precise embroidery work.
Embroidery machines are electronic devices that automate the process of embroidery, making it faster and more efficient than traditional hand embroidery. They can produce intricate designs with multiple colors, and can even embroider large designs that would be difficult to complete by hand.
The benefits of using embroidery machines for large designs are numerous. They save time and effort, and they can produce consistent results. They also allow for greater accuracy and precision, which is especially important for complex designs.
The purpose of this article is to explore the benefits of embroidering large designs with machine, and to explain why embroidery machines are becoming increasingly popular in the world of embroidery.
Choosing the right design
When embroidering large designs with an embroidery machine, it’s important to choose the right design that is suitable for the machine’s capabilities. Here are some factors to consider when selecting a design:
- Assessing the embroidery machine capabilities Before choosing a design, it’s important to assess the embroidery machine’s capabilities. This includes its hoop size, maximum stitch count, and the number of colors it can handle. Make sure to choose a design that fits within these limitations.
- Selecting a design suitable for large embroidery When choosing a design for large embroidery, consider the design’s complexity and the number of stitches it contains. The more complex the design and the more stitches it contains, the longer it will take to embroider. It’s also important to consider the size of the design relative to the garment or item being embroidered. A design that is too large may not fit on the item, while a design that is too small may not have enough impact.
- Preparing the design file Once a suitable design has been selected, it’s important to prepare the design file for the embroidery machine. This includes converting the file to the appropriate format for the machine, and ensuring that the design is properly centered and aligned within the embroidery hoop. It’s also a good idea to preview the design using embroidery software to check for any potential issues, such as thread breaks or stitching errors.
By taking these factors into consideration when choosing a design for large embroidery, you can ensure that the end result is a high-quality, professional-looking embroidery project
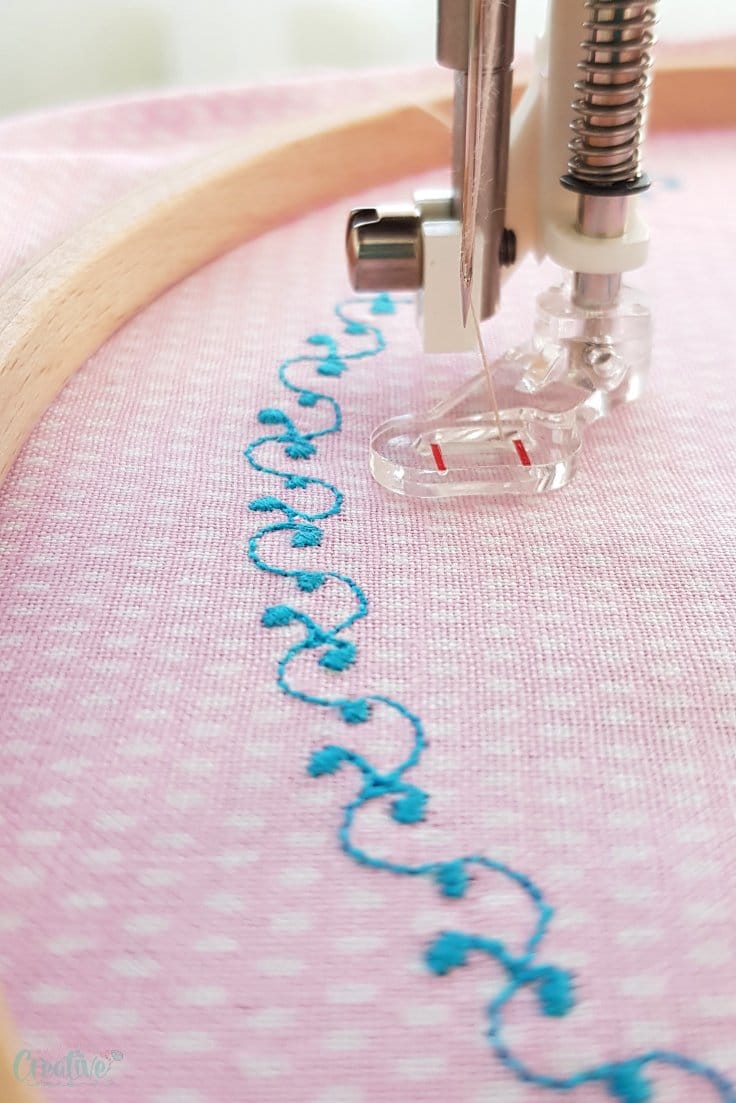
III. Preparing the fabric
Preparing the fabric is an important step when embroidering large designs with an embroidery machine. Here are some tips to ensure that the fabric is properly prepared:
- Choosing the right fabric When embroidering large designs, it’s important to choose the right fabric that can support the weight and density of the embroidery stitches. A sturdy, heavyweight fabric is recommended, such as denim, canvas, or twill. Avoid lightweight fabrics that may pucker or distort during embroidery.
- Hooping the fabric Hooping the fabric is the process of stretching the fabric over an embroidery hoop so that it remains taut and in place during embroidery. When hooping fabric for large designs, it’s important to make sure that the fabric is evenly stretched and that it remains taut throughout the embroidery process. This helps to ensure that the embroidery stitches are even and consistent.

- Stabilizing the fabric Stabilizing the fabric is another important step in preparing the fabric for embroidery. Stabilizer is a material that is placed behind the fabric to help prevent puckering, stretching, and distortion during embroidery. When embroidering large designs, a heavier stabilizer may be necessary to support the weight and density of the embroidery stitches.
- It’s important to choose a stabilizer that is appropriate for the fabric and the design being embroidered. Some common stabilizers include tear-away, cut-away, and water-soluble stabilizers. It’s also important to make sure that the stabilizer is properly centered and aligned within the embroidery hoop, and that it is securely attached to the fabric.
- By taking the time to properly prepare the fabric for embroidery, you can ensure that the final result is a high-quality, professional-looking embroidery project.
Setting up the machine
Properly setting up the embroidery machine is essential for achieving high-quality results when embroidering large designs. Here are some tips for setting up the machine:
- Selecting the appropriate needle and thread Choosing the right needle and thread is crucial when embroidering large designs. The needle should be chosen based on the fabric being embroidered and the thickness of the thread being used. A larger needle may be necessary for thicker fabrics, while a smaller needle may be needed for more delicate fabrics. Similarly, the thread should be chosen based on the design and the fabric being embroidered. Use a high-quality thread that is appropriate for the fabric being embroidered.
- Adjusting the tension and stitch length Adjusting the tension and stitch length is important to ensure that the embroidery stitches are even and consistent. The tension should be set so that the top and bottom threads are balanced, with neither thread showing on the opposite side. The stitch length should also be adjusted based on the design being embroidered and the thickness of the fabric.
- Calibrating the machine Calibrating the machine is important to ensure that the embroidery stitches are accurate and consistent. This includes calibrating the embroidery hoop to the machine and setting the machine to the appropriate speed and stitch count for the design being embroidered. It’s also a good idea to test the machine on a scrap piece of fabric before embroidering the actual design to make sure that everything is properly calibrated.
By taking the time to properly set up the embroidery machine, you can ensure that the embroidery stitches are even and consistent, and that the final result is a high-quality, professional-looking embroidery project.
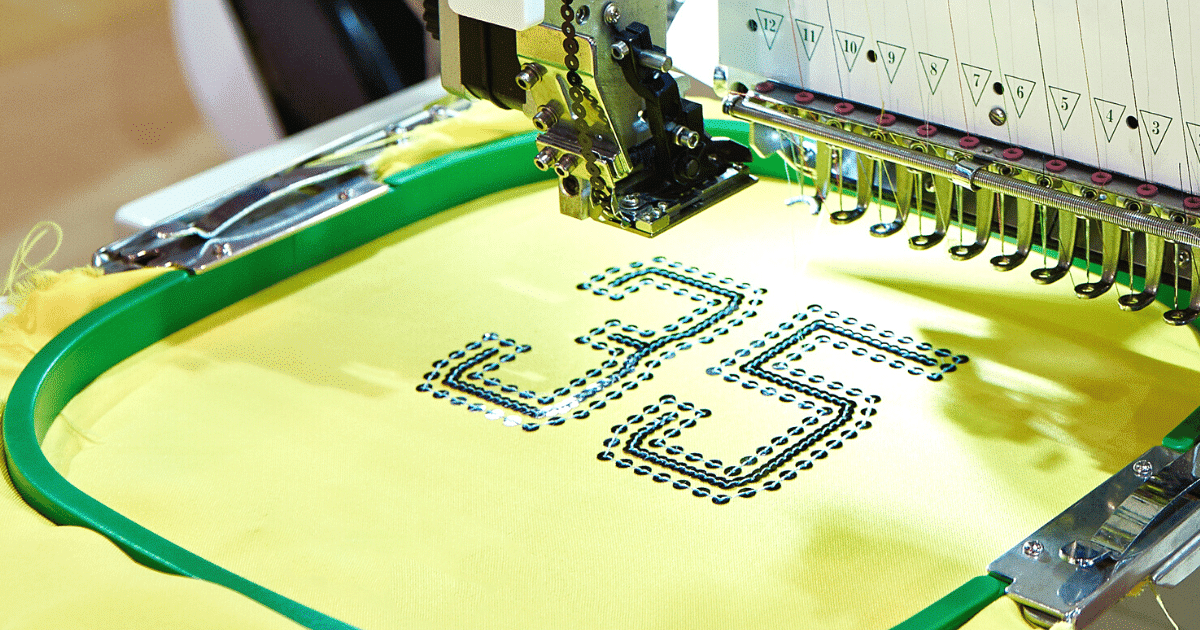
Embroidering the design
Once the fabric and machine are properly prepared, it’s time to begin embroidering the large design. Here are some tips for embroidering the design:
- Loading the design into the machine The first step in embroidering a large design is to load the design file into the embroidery machine. This can be done using a USB drive or by connecting the machine to a computer. Make sure that the design is properly aligned within the embroidery hoop and that the machine is set to the appropriate settings for the design.
- Starting the embroidery process Once the design is loaded and aligned, it’s time to begin the embroidery process. This involves starting the machine and allowing it to run through the embroidery sequence. It’s important to monitor the embroidery process to ensure that the machine is running smoothly and that the fabric remains properly hooped throughout the process.
- Monitoring the embroidery progress During the embroidery process, it’s important to monitor the progress to ensure that the stitches are even and consistent, and that the design is properly aligned within the embroidery hoop. This may involve pausing the machine periodically to check the progress, and making adjustments to the fabric or machine settings as necessary.
By carefully monitoring the embroidery progress and making adjustments as needed, you can ensure that the final result is a high-quality, professional-looking embroidery project.
Finishing the design
After the embroidery process is complete, it’s time to finish the design. Here are some tips for finishing the design:
- Removing the hoop from the machine The first step in finishing the design is to carefully remove the embroidery hoop from the machine. Take care not to accidentally tug on any threads or damage the embroidery stitches.
- Trimming the excess threads Next, trim any excess threads from the embroidery design. This may involve snipping any threads that extend beyond the design area or trimming any jump stitches that were used to move between different parts of the design.
- Pressing the embroidery Finally, it’s important to press the embroidery to remove any wrinkles or creases that may have formed during the embroidery process. Use a pressing cloth and a low heat setting to avoid damaging the embroidery stitches or the fabric.
By carefully finishing the embroidery design, you can ensure that the final result is a high-quality, professional-looking embroidery project.
VII. Conclusion
Embroidering large designs using a machine can be a fun and rewarding way to create high-quality, professional-looking embroidery projects. Here’s a summary of the key steps involved in the process:
- Choose the right design for the machine and prepare the design file.
- Choose the right fabric, hoop the fabric, and stabilize the fabric to prepare it for embroidery.
- Set up the machine by selecting the appropriate needle and thread, adjusting the tension and stitch length, and calibrating the machine.
- Load the design into the machine, start the embroidery process, and monitor the progress.
- Finish the design by removing the hoop from the machine, trimming the excess threads, and pressing the embroidery.
Embroidering large designs with a machine offers a number of benefits, including:
- The ability to create high-quality, professional-looking embroidery projects.
- Faster and more consistent embroidery than hand embroidery.
- The ability to easily replicate designs for multiple items.
We encourage you to try machine embroidery for your next large embroidery project. With the right preparation and a bit of practice, you can create beautiful and unique embroidery designs with ease.
See Also-
- Best Affordable Embroidery Machine
- Best Embroidery Machine For Beginners
- Best Embroidery Machine
- Best Janome Embroidery Machine
- Best Commercial Embroidery Machine