
Introduction
Embroidery machines are computerized devices that can create intricate and detailed designs on fabric using different colored threads. Monogramming, on the other hand, is the process of creating a design by combining two or more letters, usually to represent a person’s initials.

Monogramming has become an important aspect of personalization, making it possible to add a personal touch to various items like towels, bags, and clothing. In this guide, we will explore the steps involved in using embroidery machines for monogramming.
Types of Embroidery Machines
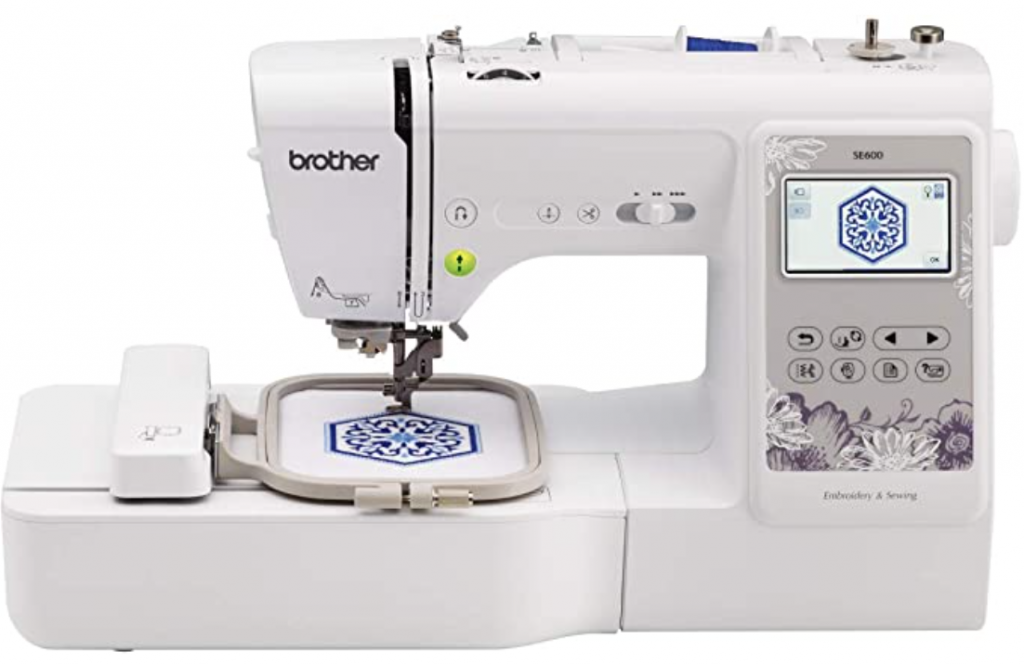
Embroidery machines come in different sizes and types, ranging from small, portable machines to large, commercial-grade models. These machines are designed to create various designs on fabric, including monogramming. Some common types of embroidery machines for monogramming include:
Single-needle embroidery machines: These machines are ideal for home use and can handle simple monogramming tasks.
Multi-needle embroidery machines: These machines are designed for commercial use and can handle complex monogramming tasks.
Combination embroidery machines: These machines are designed to handle both sewing and embroidery tasks, making them ideal for those who want to create custom designs that include monogramming.
When choosing an embroidery machine for monogramming, consider the size of the machine, the number of needles it has, and the types of designs it can create.
III. Preparing for Monogramming
Before you can start monogramming using an embroidery machine, you need to prepare the materials and the design you want to create. Here are the steps involved:
Selection of materials: Choose the fabric you want to use for your monogramming project. Cotton, linen, and silk are some common options. Also, select the thread color you want to use for your monogram.
Creating a design: Decide on the monogram you want to create, including the font and the size. You can use computer software or online tools to create a custom design or use a pre-made design from the embroidery machine’s built-in library.
Setting up the embroidery machine: Once you have your design ready, you need to set up the embroidery machine. This involves attaching the embroidery hoop to the machine, selecting the right needle, threading the machine, and loading the design onto the machine.
Make sure to follow the instructions provided by the embroidery machine manufacturer when setting up the machine. This will ensure that the machine is properly calibrated and that the design is properly loaded onto the machine.
Steps for Monogramming with an Embroidery Machine
Once you have prepared the materials and set up the embroidery machine, you can start the monogramming process. Here are the steps involved:
Preparing the fabric: Cut the fabric to the desired size and shape. Make sure it is clean and free of any wrinkles or creases.
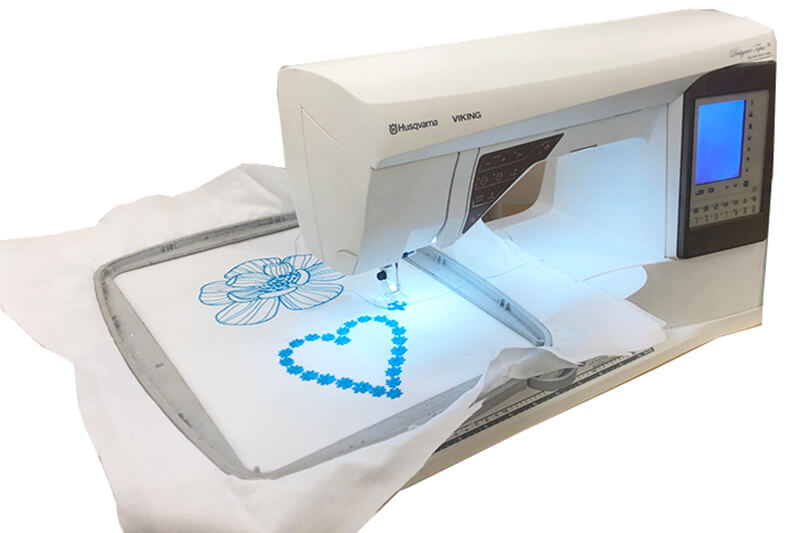
Hooping the fabric: Place the fabric onto the embroidery hoop, making sure it is taut and stretched out. Tighten the hoop to secure the fabric in place.
Setting up the machine: Check that the needle is properly threaded and the correct thread color is loaded onto the machine. Ensure that the machine is set up to create the correct design and font.
Starting the embroidery process: Press the start button on the embroidery machine to begin the monogramming process. The machine will guide the needle around the design, automatically creating the monogram.
Finishing the monogram: Once the monogram is complete, remove the embroidery hoop from the machine and remove the fabric from the hoop. Trim any loose threads and iron the fabric if necessary.
Make sure to follow the instructions provided by the embroidery machine manufacturer when monogramming. This will ensure that the machine runs smoothly and that the monogram is created correctly.
Tips for Successful Monogramming
Here are some tips to help you create a successful monogram using an embroidery machine:
Using proper needles and threads: Use the right needle size and type for the fabric you are using, and make sure the thread color matches the design. This will ensure that the needle can easily pass through the fabric and create a clean design.
Adjusting the tension: Check the tension on the embroidery machine before starting the monogramming process. Adjust the tension as needed to ensure that the stitches are even and consistent.
Testing the design: Before monogramming the final product, test the design on a scrap piece of fabric. This will give you an idea of how the design will look and allow you to make any necessary adjustments before starting the actual monogramming process.
Proper maintenance of the embroidery machine: Regularly clean and oil the embroidery machine to ensure that it runs smoothly. This will prevent the machine from jamming or breaking during the monogramming process.
By following these tips, you can ensure that your monogramming project is successful and produces a high-quality design.
Conclusion
Monogramming is an important way to personalize fabrics and add a touch of uniqueness to everyday items. Using an embroidery machine can make the process easy and efficient. Here are the key takeaways from this article:
Embroidery machines come in different types, including single-needle, multi-needle, and combination machines.
To prepare for monogramming, you need to select the right materials, create a design, and set up the embroidery machine.
The steps for monogramming with an embroidery machine include preparing the fabric, hooping the fabric, setting up the machine, starting the embroidery process, and finishing the monogram.
Tips for successful monogramming include using proper needles and threads, adjusting the tension, testing the design, and properly maintaining the embroidery machine.
With the right tools and techniques, monogramming with an embroidery machine can be a fun and rewarding hobby. So why not give it a try and add a personalized touch to your fabrics?
See Also-
- Best Embroidery Machine For Hoodies 2023
- Best Embroidery Machine 2023
- Best Embroidery Machine Under $1000 In 2023
- Best Embroidery Machine For Monogramming 2023
- Best Embroidery Machine For Hats 2023